Follow this guide to replace the screen on your moto g55 using a genuine motorola replacement.
The assembly consists of the screen and frame together in one part. Be sure you have the right part before you begin the repair.

30-40 MINUTES
VIDEO / PHOTO GUIDE
Follow this guide to replace the screen on your moto g55 using a genuine motorola replacement.
The assembly consists of the screen and frame together in one part. Be sure you have the right part before you begin the repair.
moto g55 5G | Battery Cover / Rear Panel Adhesive | Forest Grey (Desert Sage) | 5D78C28715
£2.88
moto g55 5G | Vibrating Motor Adhesive | 5D78C23273
£1.21
moto g55 5G | Main PCBA Bottom Conductive Copper Sheet | S948D92034
£1.21
moto g55 5G | Main PCBA Bottom Heat Dissipation Sheet | S948E23260
£1.21
Motorola Complete Home Repair Tool Kit
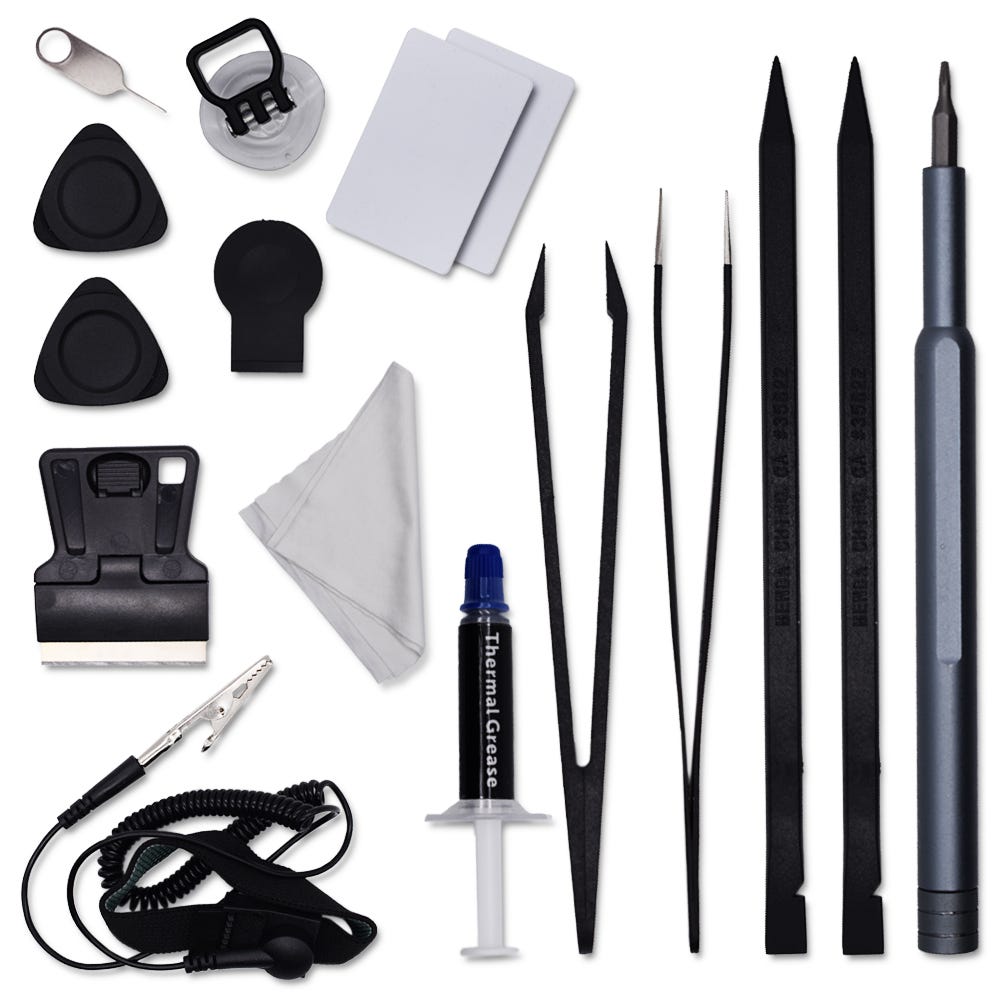
£12.46
This repair may take some time, so ensure you set aside enough time to work in a distraction-free environment and follow each step carefully.
Take extra caution when removing the battery. It is recommended to fully discharge your phone, if possible, before beginning the repair. Additionally, avoid using any sharp or metal tools to prevent damage or safety risks.
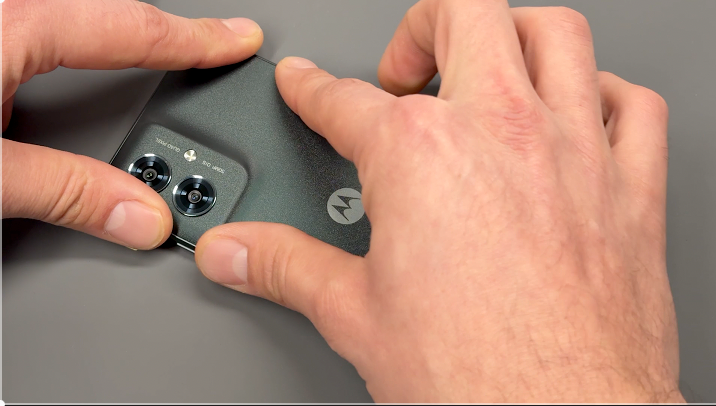
Use the SIM card ejection tool to remove the SIM card tray and SIM card.
Apply heat using a hairdryer on a medium setting or a heat gun on a low setting until the back of the phone is warm to the touch.
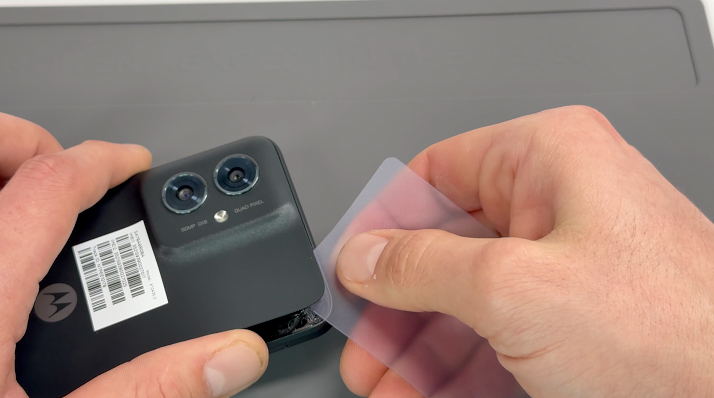
Using a thin, solid prying tool or a handled blade, gently pry the area between the battery cover and the frame until a small gap is created.
Insert a plastic card, playing card, or rigid card into the gap and carefully slide it around the edges to break the adhesive seal securing the battery cover. Once the seal is fully broken, remove the battery cover.
Clean off any remaining adhesive from the frame using a probe tool or by gently pulling and rubbing it away with your finger.
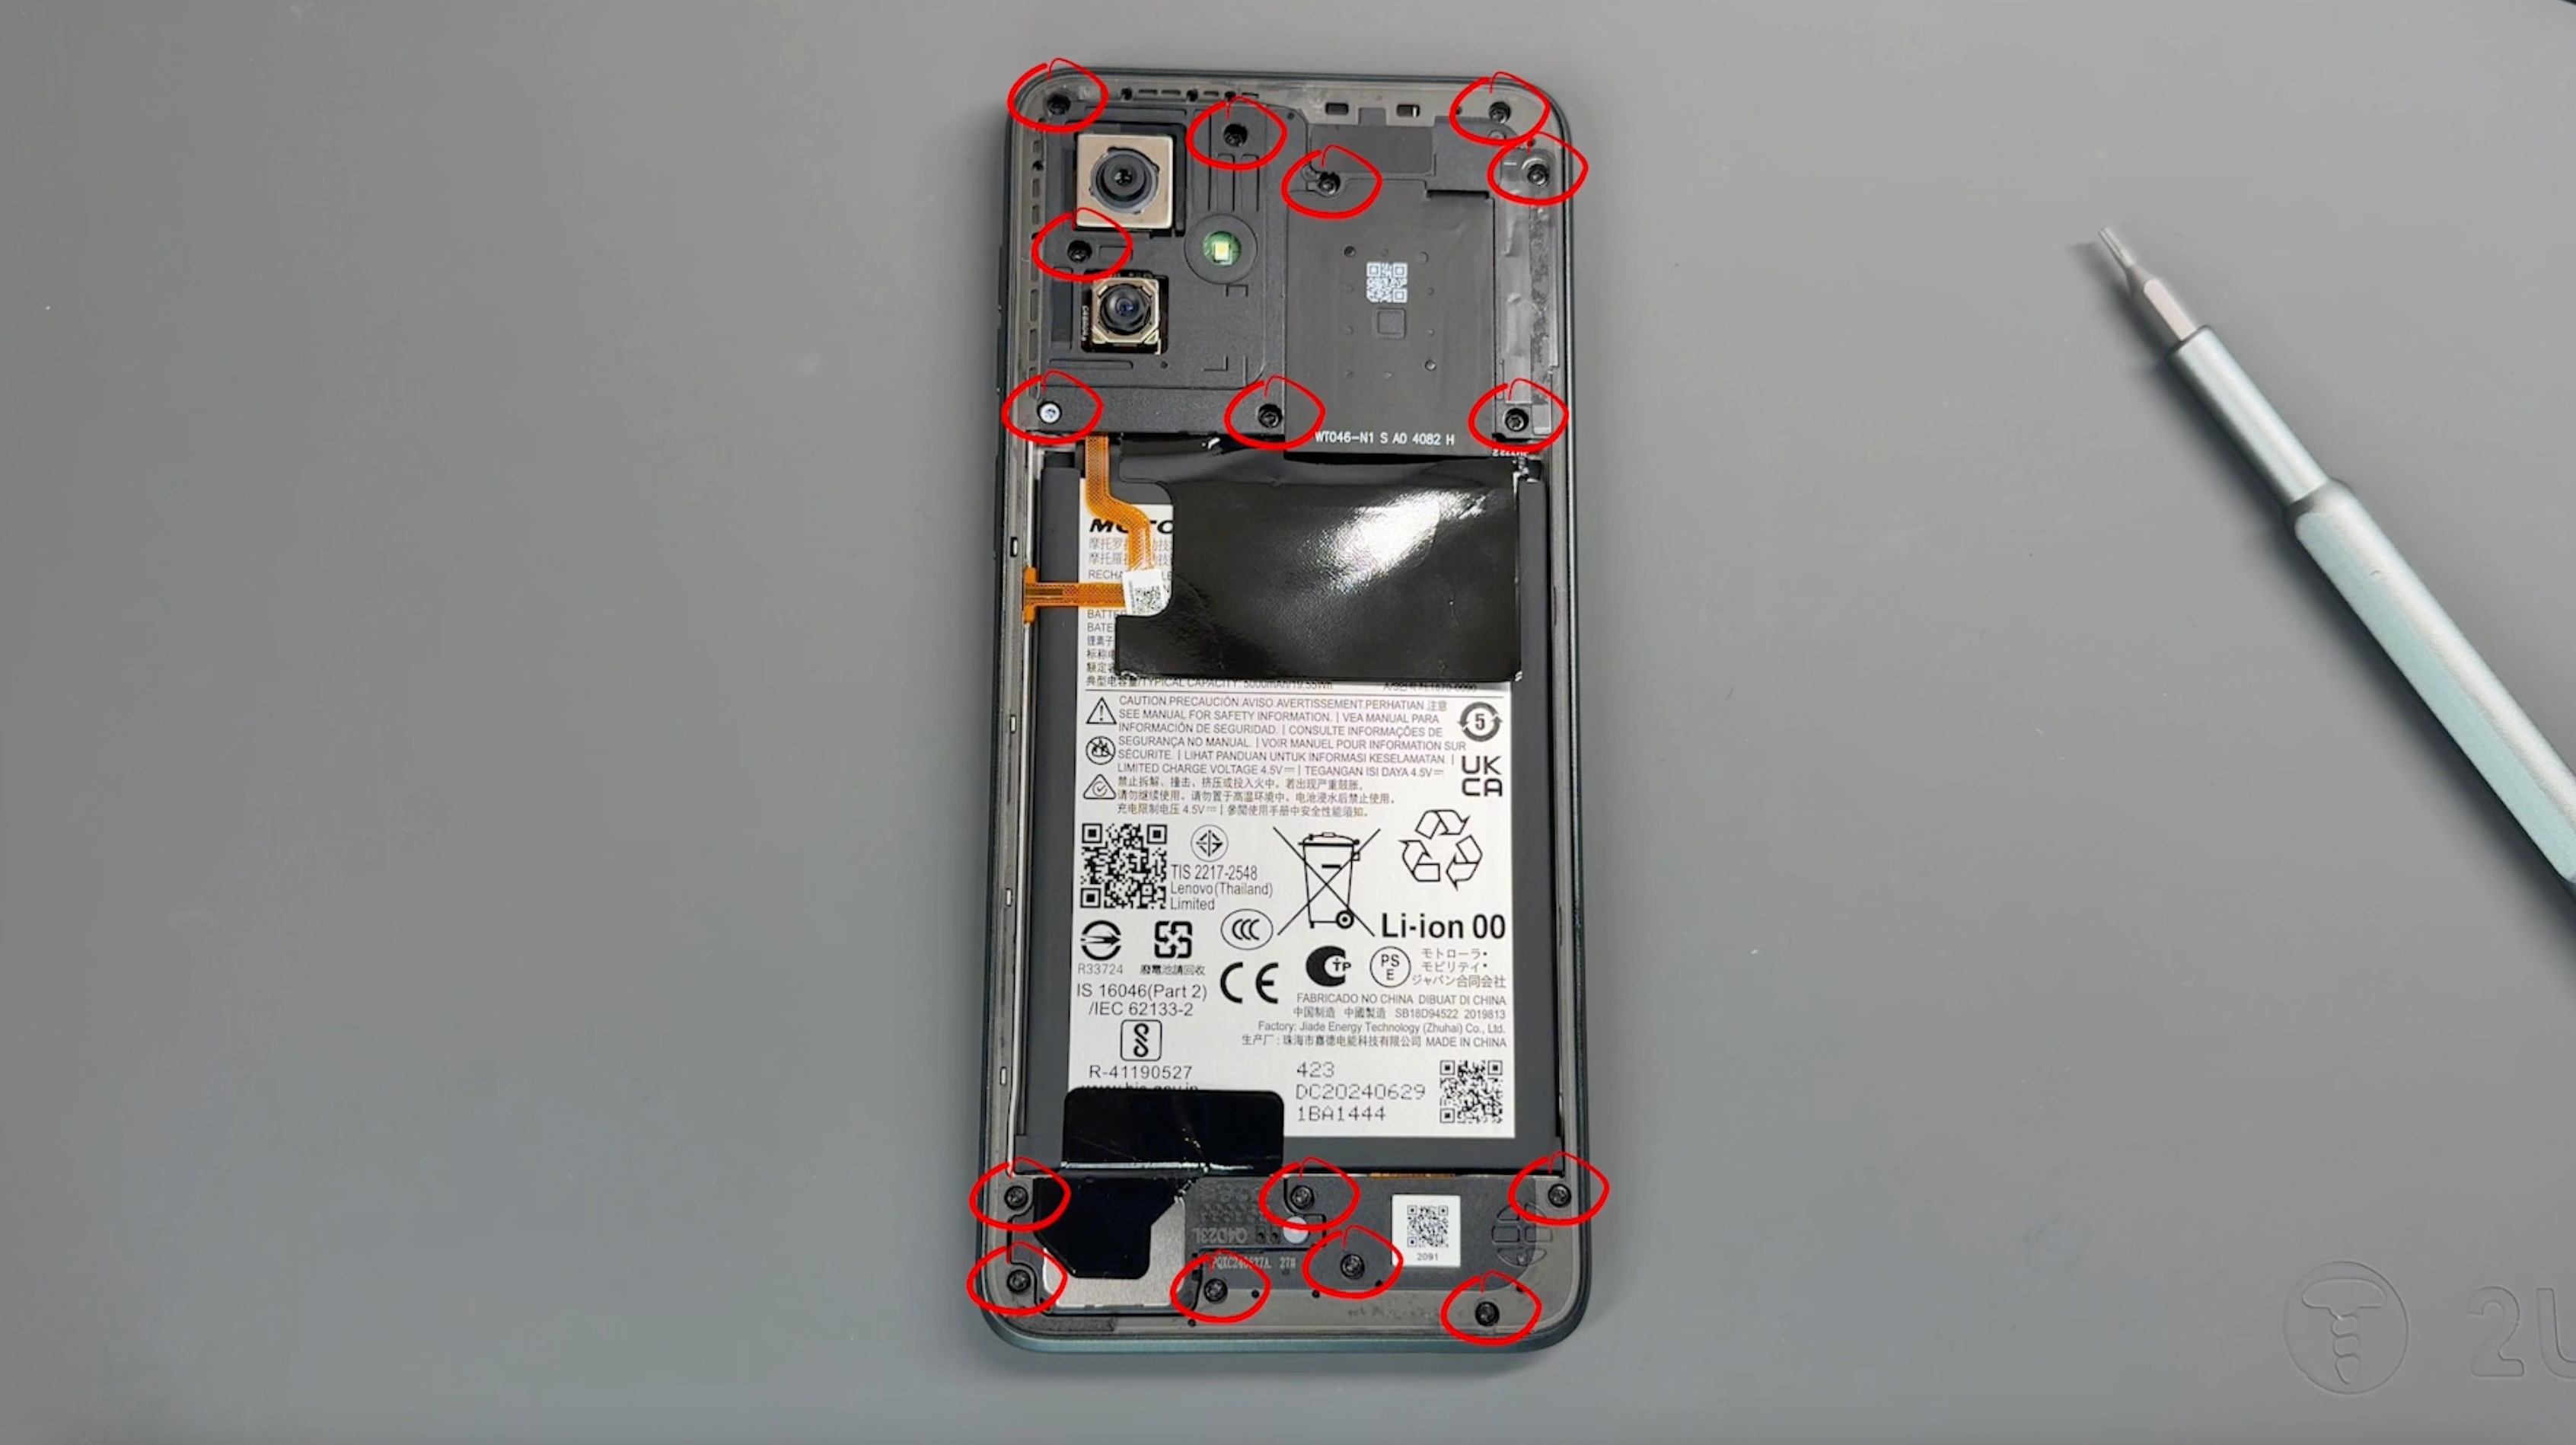
Remove the 16 screws securing the frame; don't worry, all screws are the same size. Be sure to keep them safe and avoid placing them near the edge of your workspace.
Use a pry tool to create a small gap between the screen and the frame. Carefully run the tool around the perimeter of the frame to gently loosen and separate it.
CAUTION: Before fully removing the frame, be mindful of the flex cable connecting the frame to the phone.
Pivot the frame from the left side, as demonstrated in the video, and use a probe tool to gently release the connector.
Disconnect the battery connector, the three flex cables located above the battery, and the black and white coaxial cables.
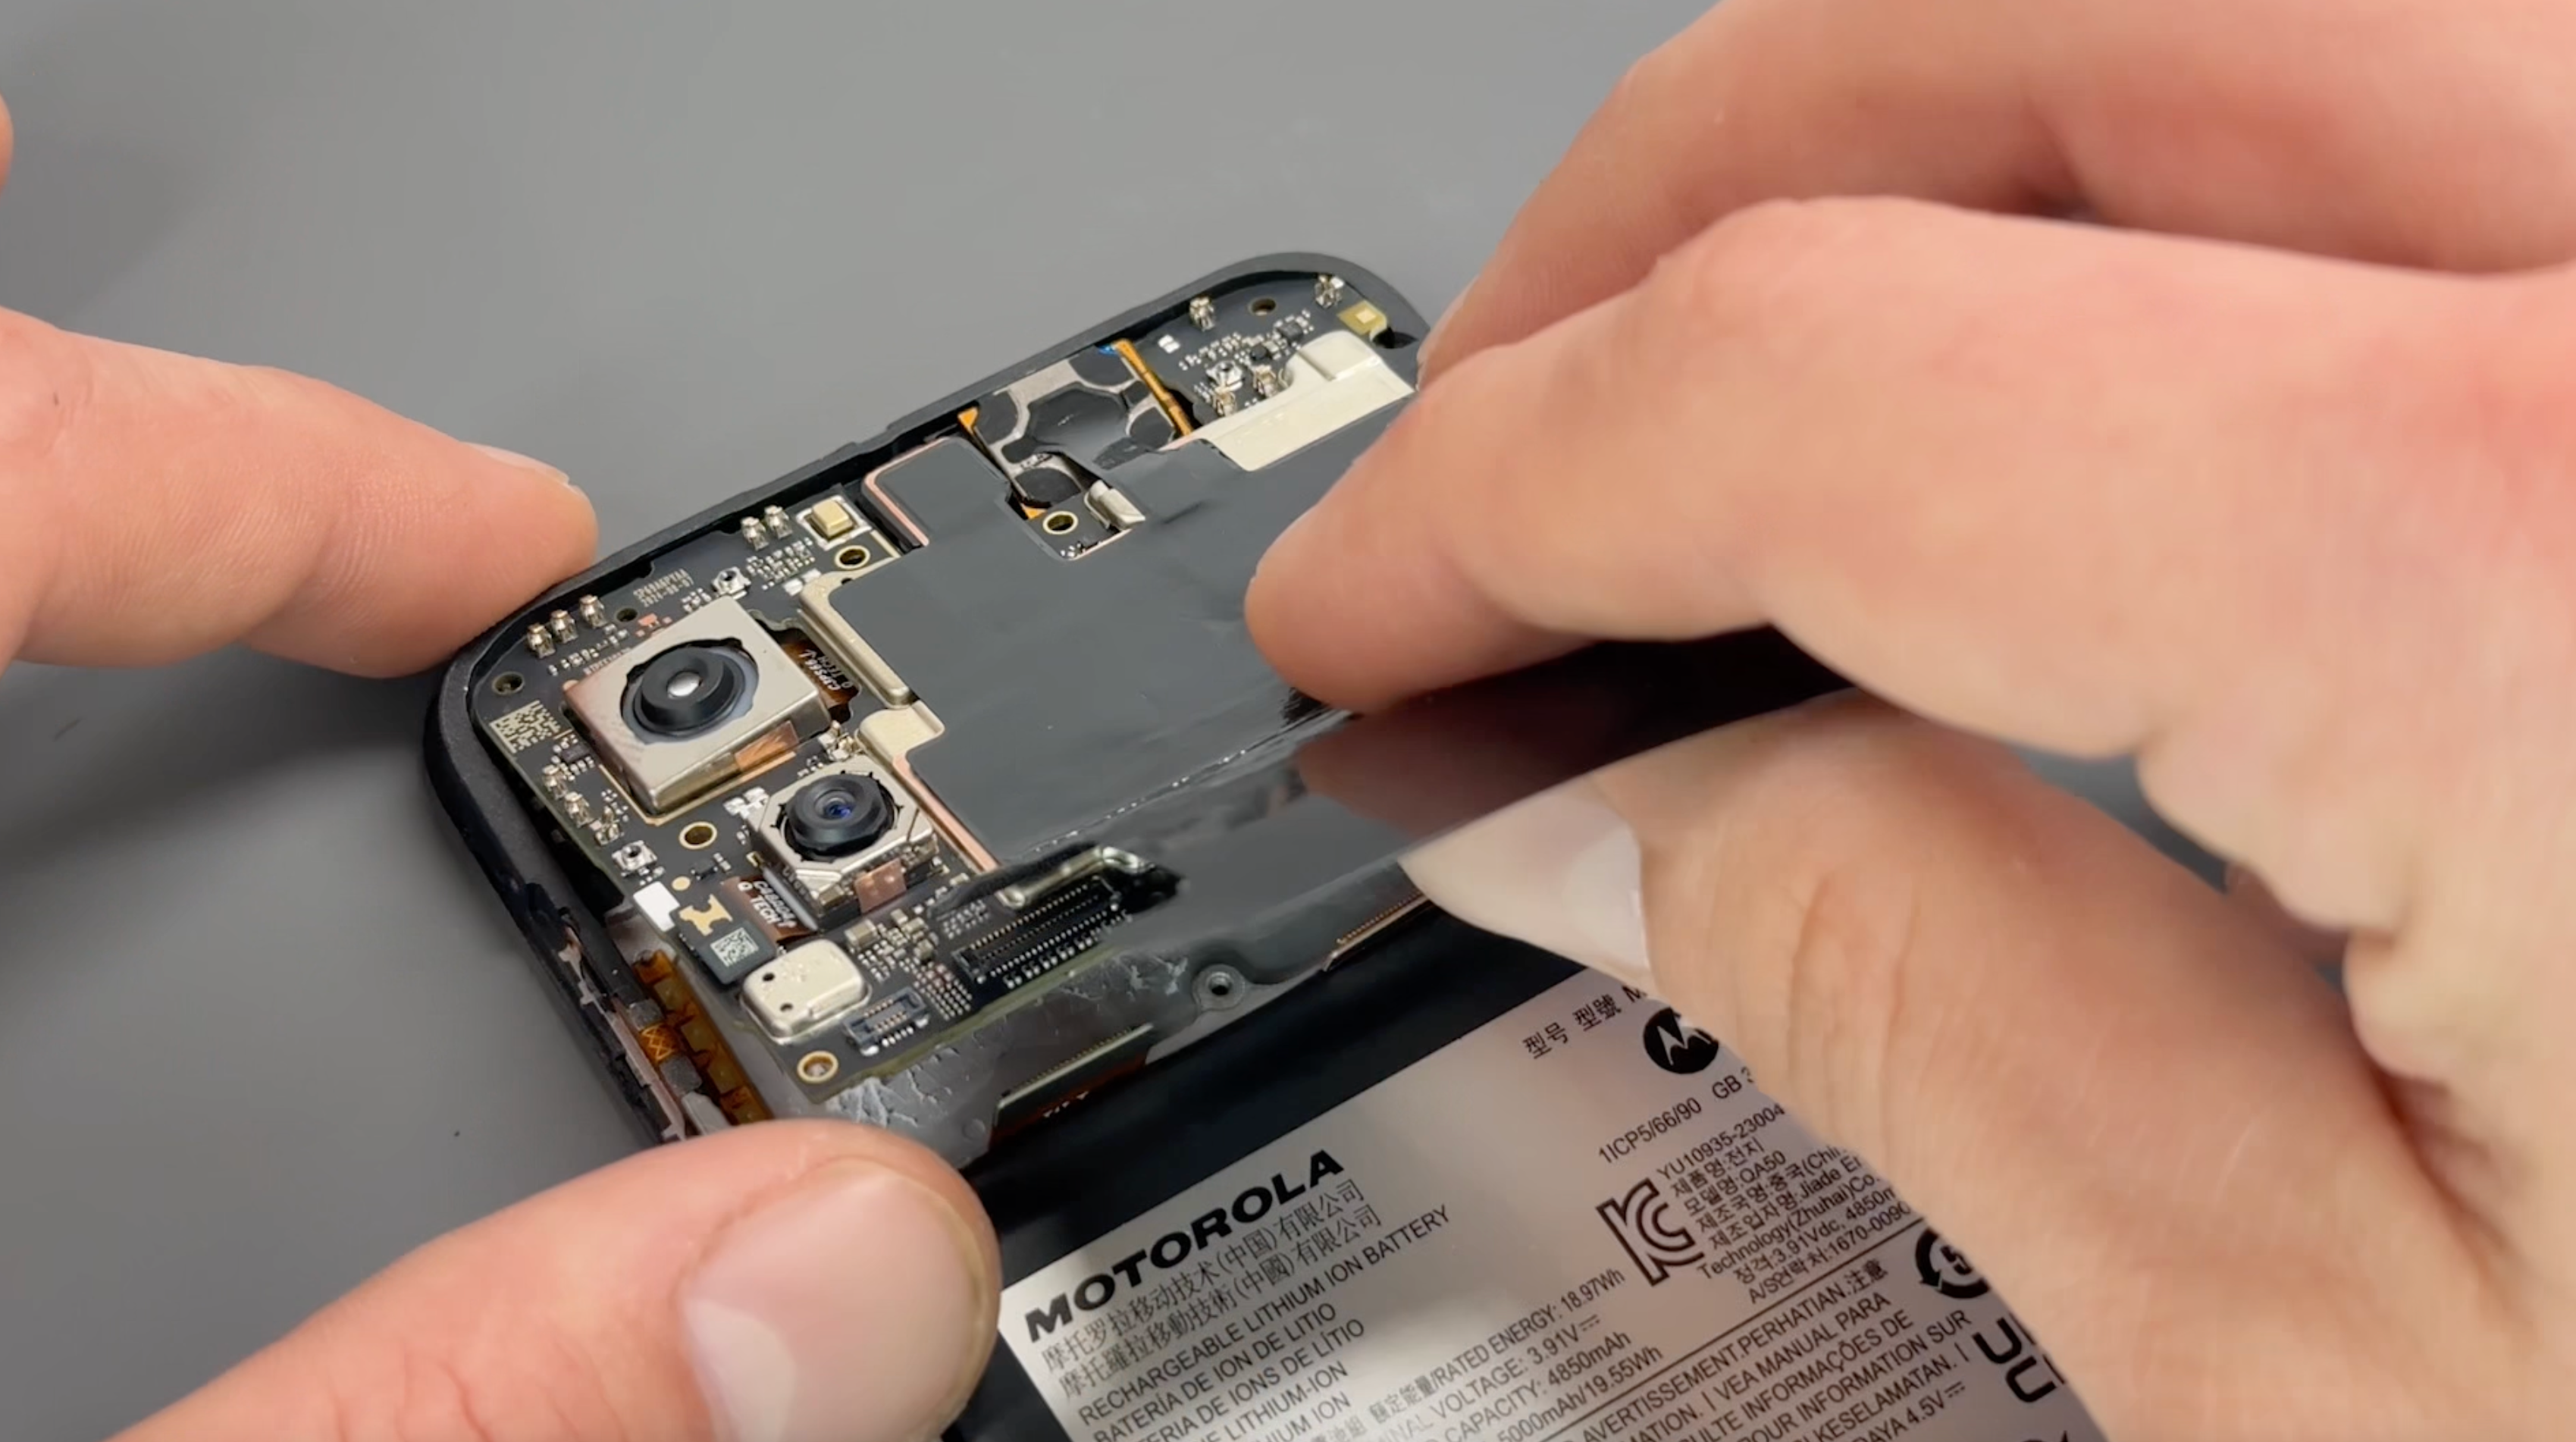
Carefully remove the thermal paste from the board using a scraping tool and a dry microfiber cloth, ensuring a clean surface.
Once cleaned, gently move the motherboard to one side, being cautious not to damage any components. The cameras can remain in place during this process.

Remove the speaker by peeling back the black shielding.
Disconnect the flex cable connection and the black and white rounded coaxial cables, carefully separating them from the charging port.
Once all cables are disconnected, remove the charging port by gently popping it out.
Apply a small amount of heat to the circular vibrating motor to soften the adhesive, then use a rigid tool to carefully pry it out.
Finally, gently remove the black and white coaxial cables from their recessed grooves in the phone’s frame.

Using heat, gently warm the area around the button flex cable attached to the phone’s frame. Using a plastic tool, carefully peel up the flex cable, which is held in place with adhesive. If resistance is encountered, apply additional heat to further soften the adhesive. Follow the same process to remove the external button portion of the flex cable from the side of the phone's frame.
Next, warm the earpiece area to loosen the adhesive securing the earpiece speaker and the rubber grommet located to the left of the earpiece in the frame. Use a plastic tool to carefully pry out both the earpiece speaker and its connector, taking care to avoid damage.

Disconnect the battery connector.
Using a hairdryer on a medium setting or a heat gun on a low setting, gently heat the front of the phone to soften the adhesive (DO NOT apply heat directly to the battery),
If your battery has the Easy Removal System, peel and pull the tabe with gentile but firm pressure to lift the battery out.
If your battery doesn't have the Easy Removal System, using the pry cards, create a gap between the battery and frame, this may require a little time and additional heat.
CAUTION: Never use metal tools around the battery to avoid the risk of puncturing or damaging it.

Unpack your new screen and prepare it by removing the tape from the main flex cable and the protective lens cover over the front camera.
If necessary, remove the old adhesive from the vibrating motor, apply fresh adhesive, and reinstall it into the frame of the new screen.
Secure the charging port into place until it clicks. Reconnect the white coaxial cable carefully, ensuring the connector is properly aligned, and route the cable through the designated channel in the frame. Repeat this process for the black coaxial cable.
Peel off the adhesive cover for the main flex cable, and as shown in the video, fold the cable near the frame before laying it down onto the adhesive. Once secured, install the protective foam padding over the flex cable.

Remove the protective sheets from the remaining adhesive on the battery, then install the battery into the frame, applying firm pressure to ensure it adheres securely.
Reinstall the rubber grommet, earpiece, and buttons. If the existing adhesive is no longer effective, replace it with new adhesive to ensure proper installation.


Align the fingerprint cable with its connector on the phone’s board and press firmly until you feel it click into place.
Apply even pressure around the frame to snap it back into place, ensuring it is fully secured as you work your way around the edges.
Reinsert the screws into the frame, turning them gently until they are secure. Avoid overtightening to prevent damage.
CAUTION: Ensure the inside of the battery cover and the camera units on the phone are free from dust or fingerprints before proceeding.
Check that the battery cover is free of any old adhesive. If any remains, simply peel it off or rub it away with your finger.
Align the new adhesive with the battery cover, ensuring proper placement, and press firmly to allow the adhesive to bond securely to the cover.
Carefully remove the protective film from the adhesive, peeling slowly to prevent it from lifting.
Reattach the battery cover to the phone, aligning it properly, and apply firm pressure around the edges of the device to ensure a secure seal.
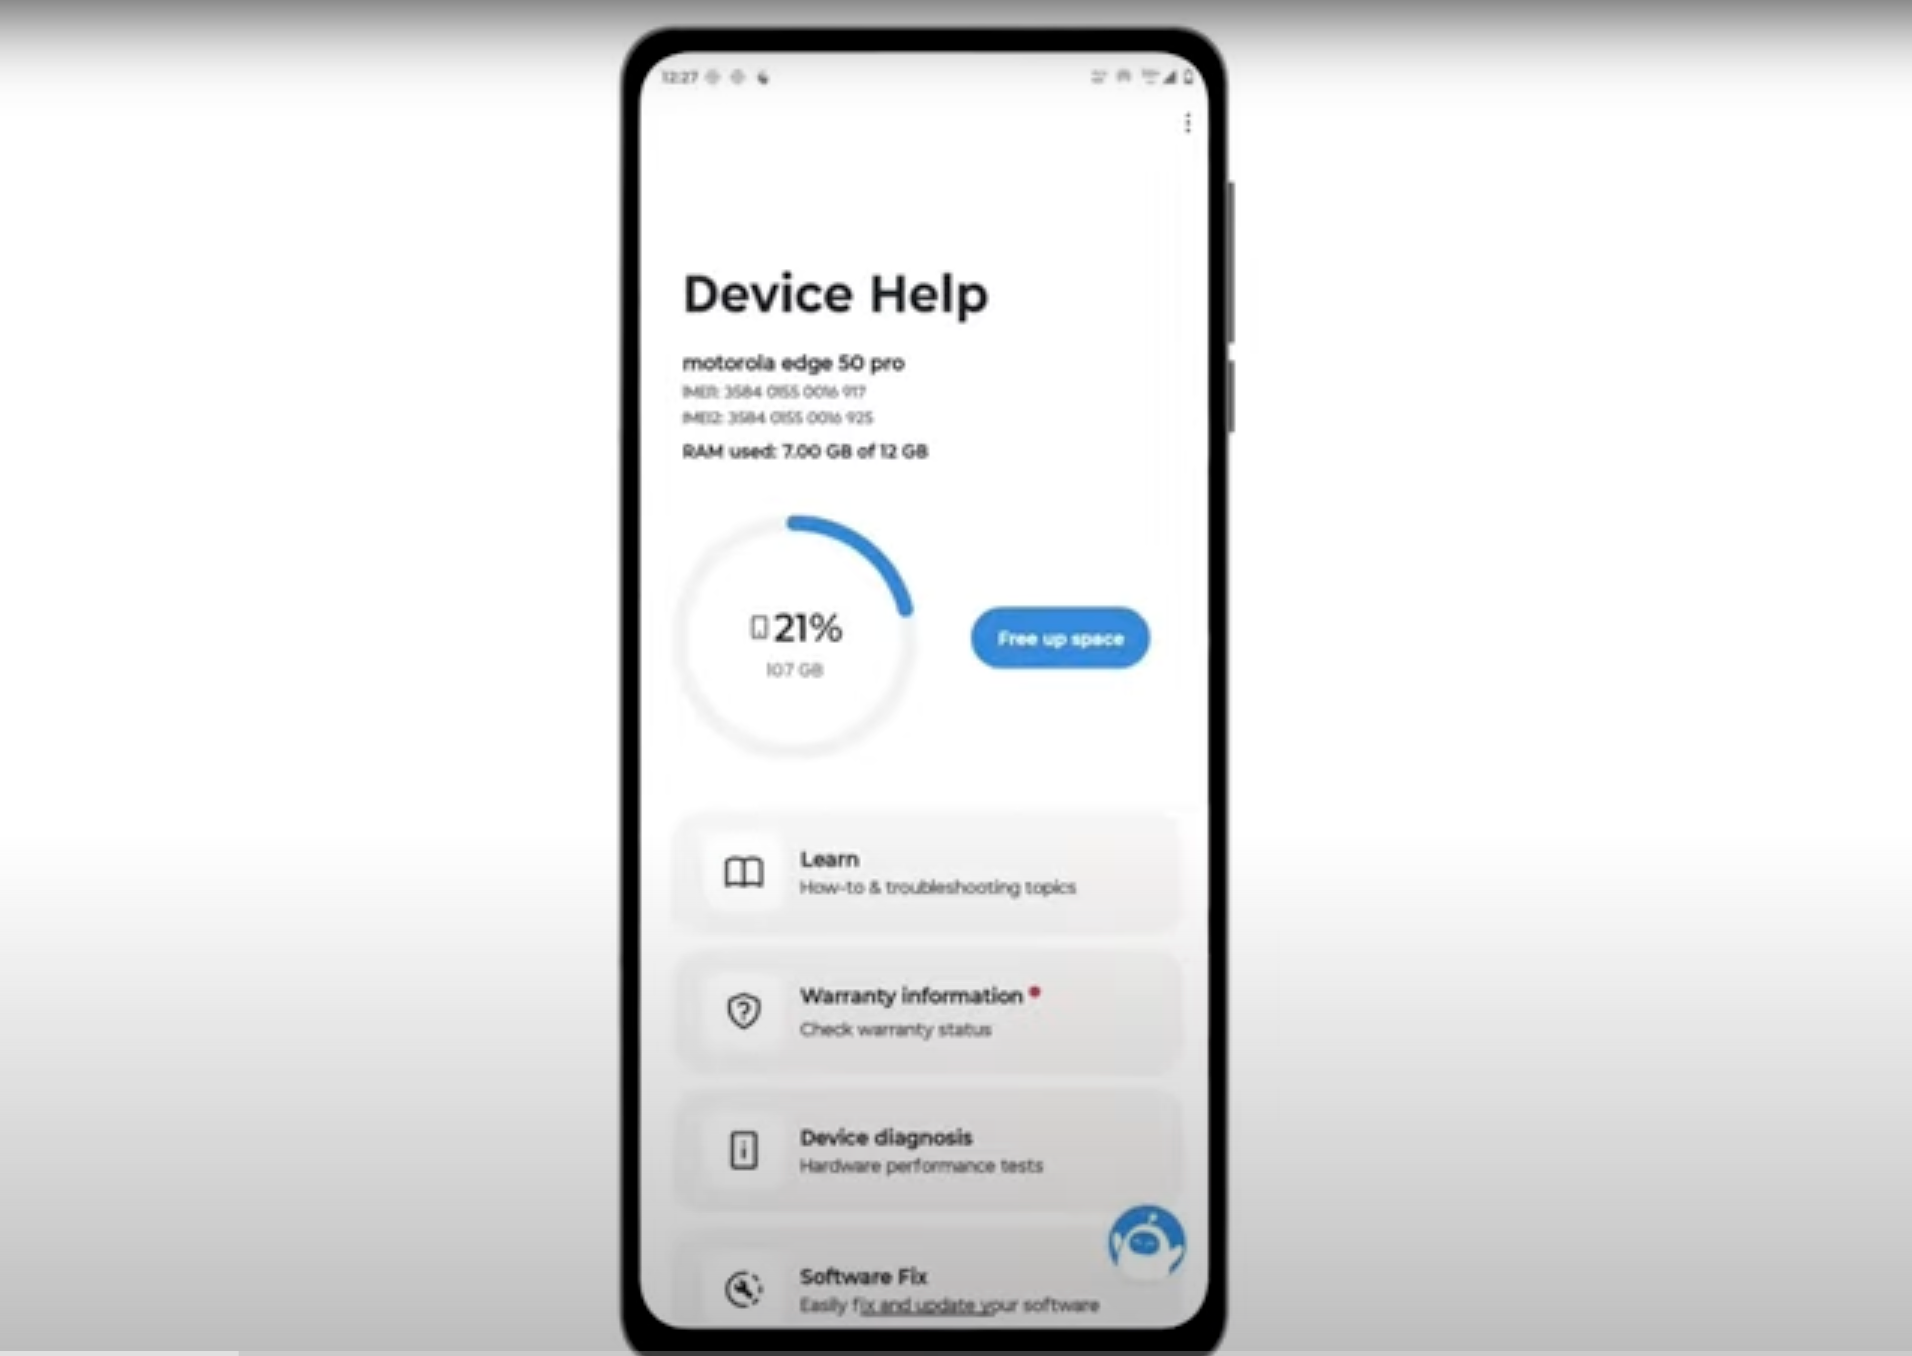
Download and run Motorola Smart Assist to fully test your device and follow any required configuration.