Need to replace your camera? We've got you covered! This guide will show you how to replace either of the main cameras and get you back to snapping pictures in no time.
moto g75 repair

Main Cameras - G75
25-30 MINUTES
VIDEO / PHOTO GUIDE
Parts Used
Tools & Consumables Required
Technician notes:
This repair isn’t too difficult, but take your time when opening the battery cover and thoroughly cleaning off all adhesives.
When handling the new camera, avoid touching the lens directly and never place it face down on any surface. Any dirt or fingerprints on the lens can interfere with autofocus and image quality.
- Battery Cover Removal
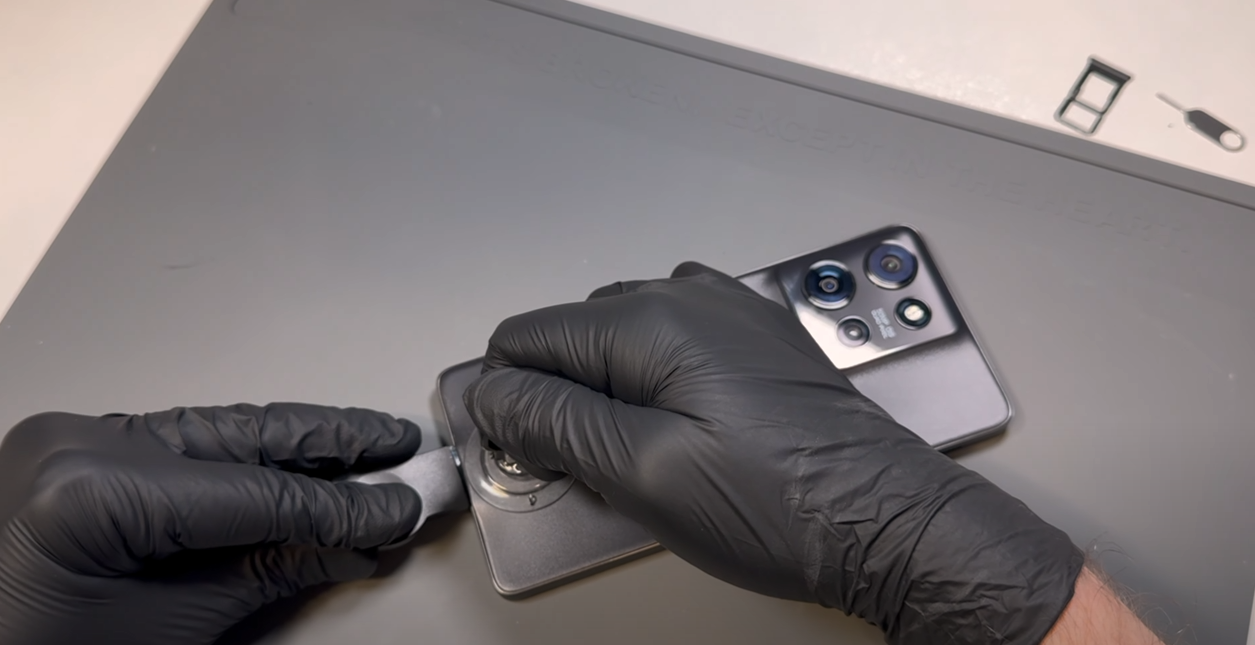

Using the SIM card ejection tool, insert it into the release hole and remove the SIM card tray.
Heat the phone using a hairdryer on a medium setting or a heat gun on a low setting until it is warm to the touch. Once warm, use a plastic blade to create a small gap at the bottom of the phone between the battery cover and the metal frame, using the suction cup if needed. The battery cover is made of a relatively soft material, so don’t worry if it starts to bend slightly—it will return to its normal shape as long as its not bent too much.
Once a gap is made, insert a plastic card and gently slide it around the phone in a back-and-forth motion to begin cutting through the adhesive and breaking the bond. You may need to reapply heat as necessary to keep the adhesive soft.
Be careful not to insert the card too deeply into the phone—1-2 cm should be the maximum depth needed.
Once all adhesive has been cut and the battery cover is loose, wriggle the cover left and right to complete the separation - dont pull it off causing a bend.
- Sub Frame Removal
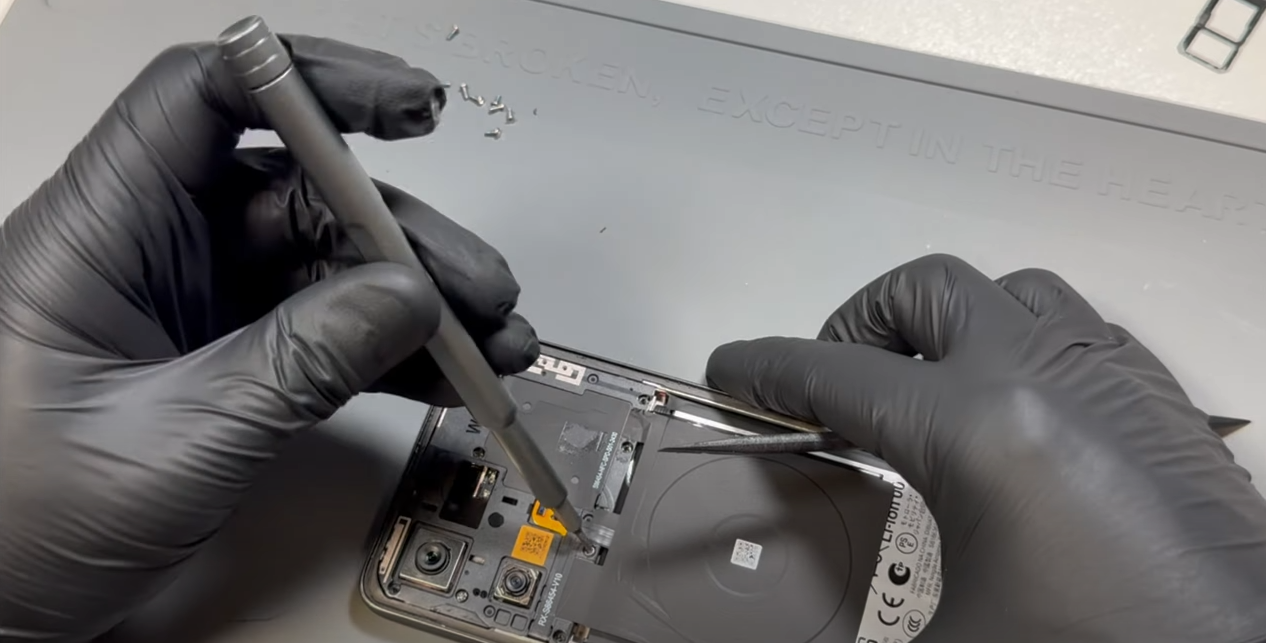
Remove all 10 screws from the subframe. These screws can be tricky to remove, even with a magnetic driver. The best approach is to either use tweezers to lift them out while unscrewing, gently pry them up as they loosen, or leave them in place and remove them after the frame is detached.
Once all screws are removed (or fully loosened but left in place), lift the subframe away from the phone. The wireless charging coil is attached to the black graphene tape with mild adhesive. Carefully separate them by peeling the coil away.
- Camera Removal
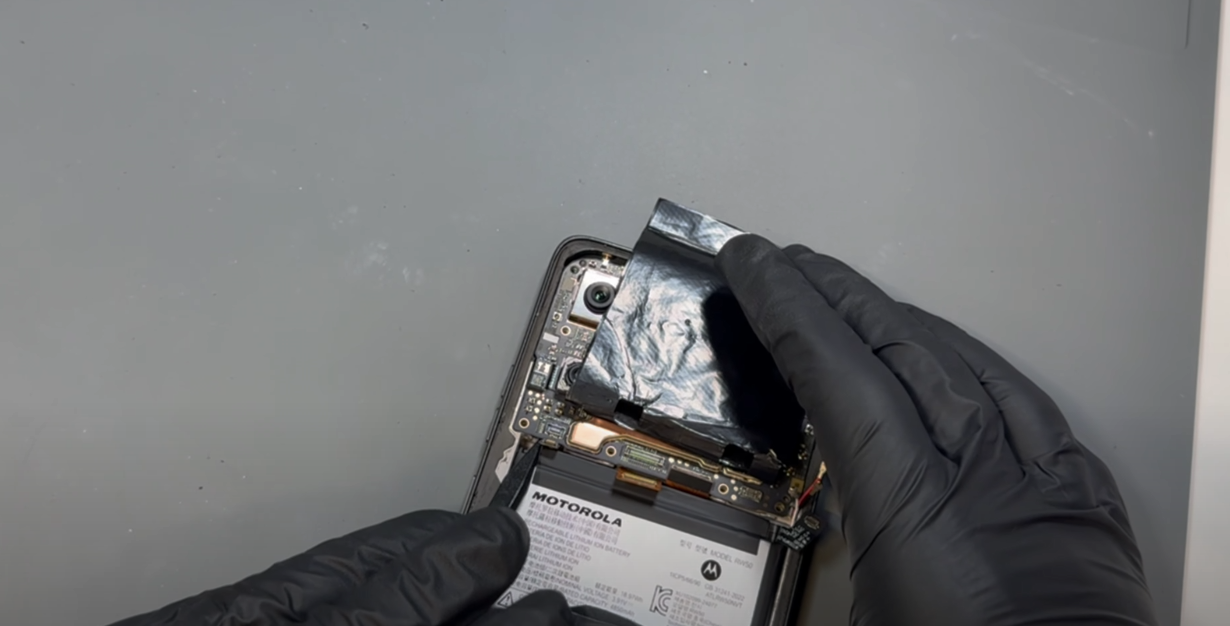
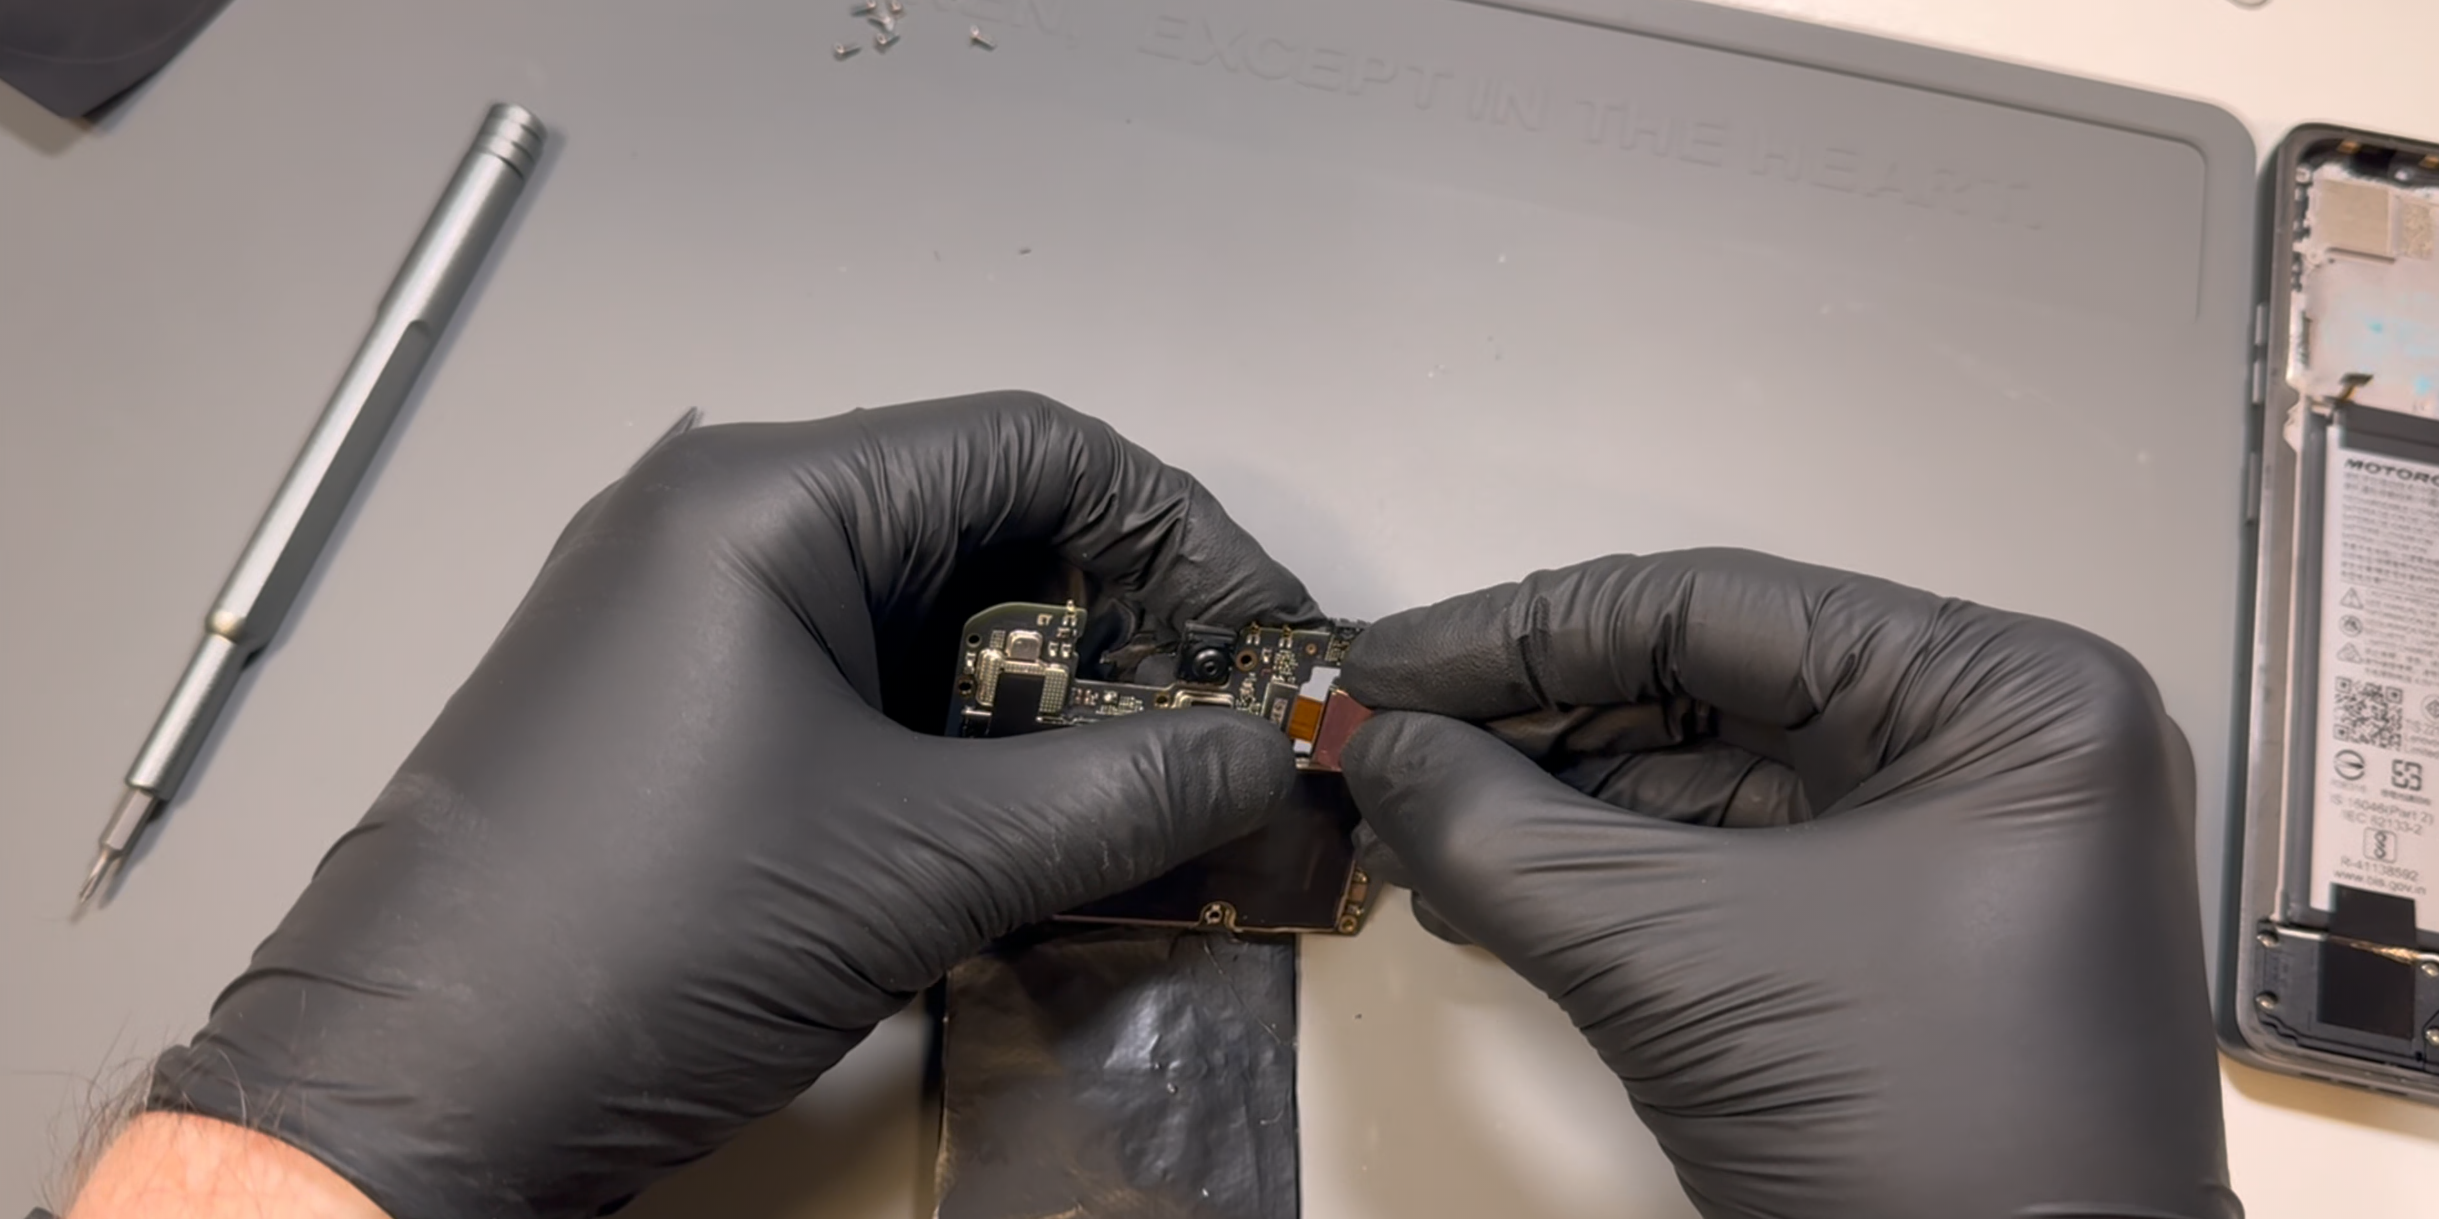
Start by disconnecting the battery, followed by the three flex cables connected to the motherboard.
Once released, remove the three coaxial cables from the motherboard, noting their order of placement (Red, Black, White from the top down). These can be removed by using a probe tool under the neck of the connector and gently popping them off.
Once all cables are disconnected, use your probe tool in the gap between the phone’s frame and motherboard on the left side to gently pry the board up and pull it out towards you.
Clean all of the thermal compound residue from both the phone’s frame and the motherboard.
You can now disconnect the required camera
- Camera Installation
Install the required camera, being careful not to touch the lens with your finger or place it lens-first on any surface.
If you are replacing the camera attached to the motherboard (8MP camera), it’s recommended to replace the thermal adhesive. Remove the old adhesive and apply new adhesive as shown in the video.
Apply thermal compound to the indicated areas. You are now ready to install the motherboard.
The board sits in a groove at the top of the phone’s frame—insert it into this groove before lowering it into place. Make sure all cables are out of the way and not trapped under the board.
Once the board is positioned correctly, reconnect the three flex cables (left and two center) and the coaxial cables in the correct order: Red, Black, White from the top down. Use tweezers to align the coaxial cables and apply light pressure to snap them into place.
Lastly, reconnect the battery.
-
Fully clean the old adhesive from the phone’s frame. This can be a bit stubborn, so applying heat will help. Use only plastic tools or your finger to rub off the adhesive. If you're installing a new screen, you can skip this step.
Next, fully clean any old adhesive from the battery cover using the same approach as above.
Install the new battery cover gasket/adhesive. Remove the top layer to expose the sticky surface. Take your time aligning the adhesive to the battery cover—gently rest it on top, and if it's not positioned correctly, carefully remove and reapply.
Once satisfied with the placement, apply firm pressure all around the adhesive to ensure it bonds to the battery cover.
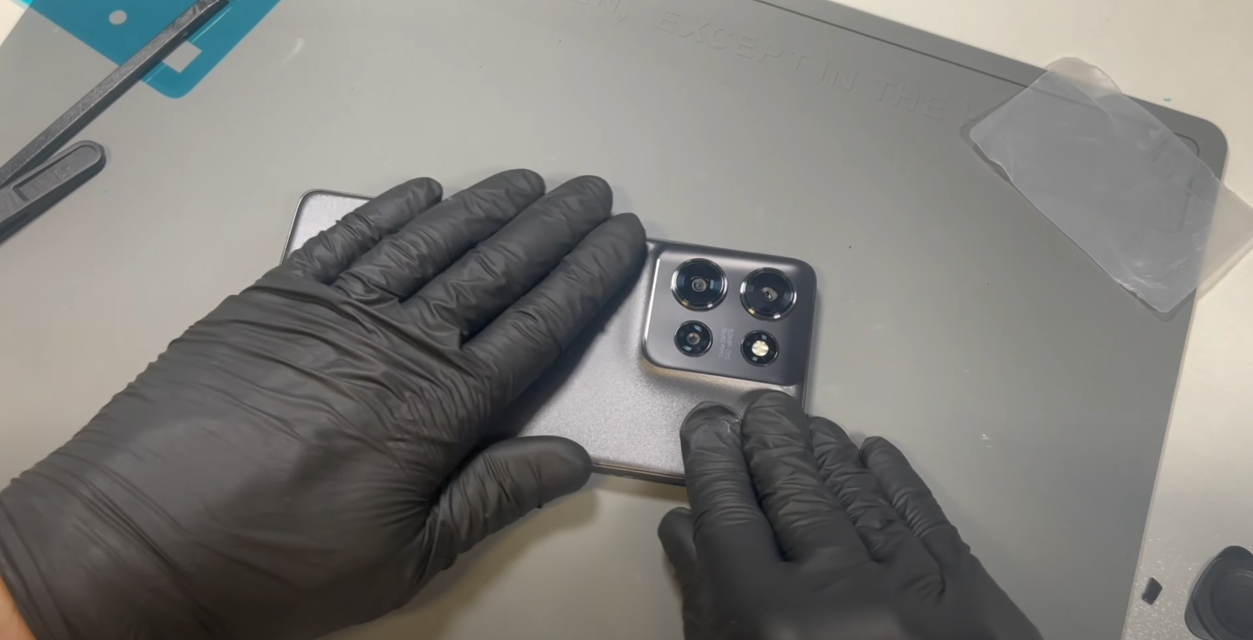
Peel off the protective layer from the adhesive on the battery cover, carefully place the cover onto the phone, and apply pressure all around to ensure a secure fit.
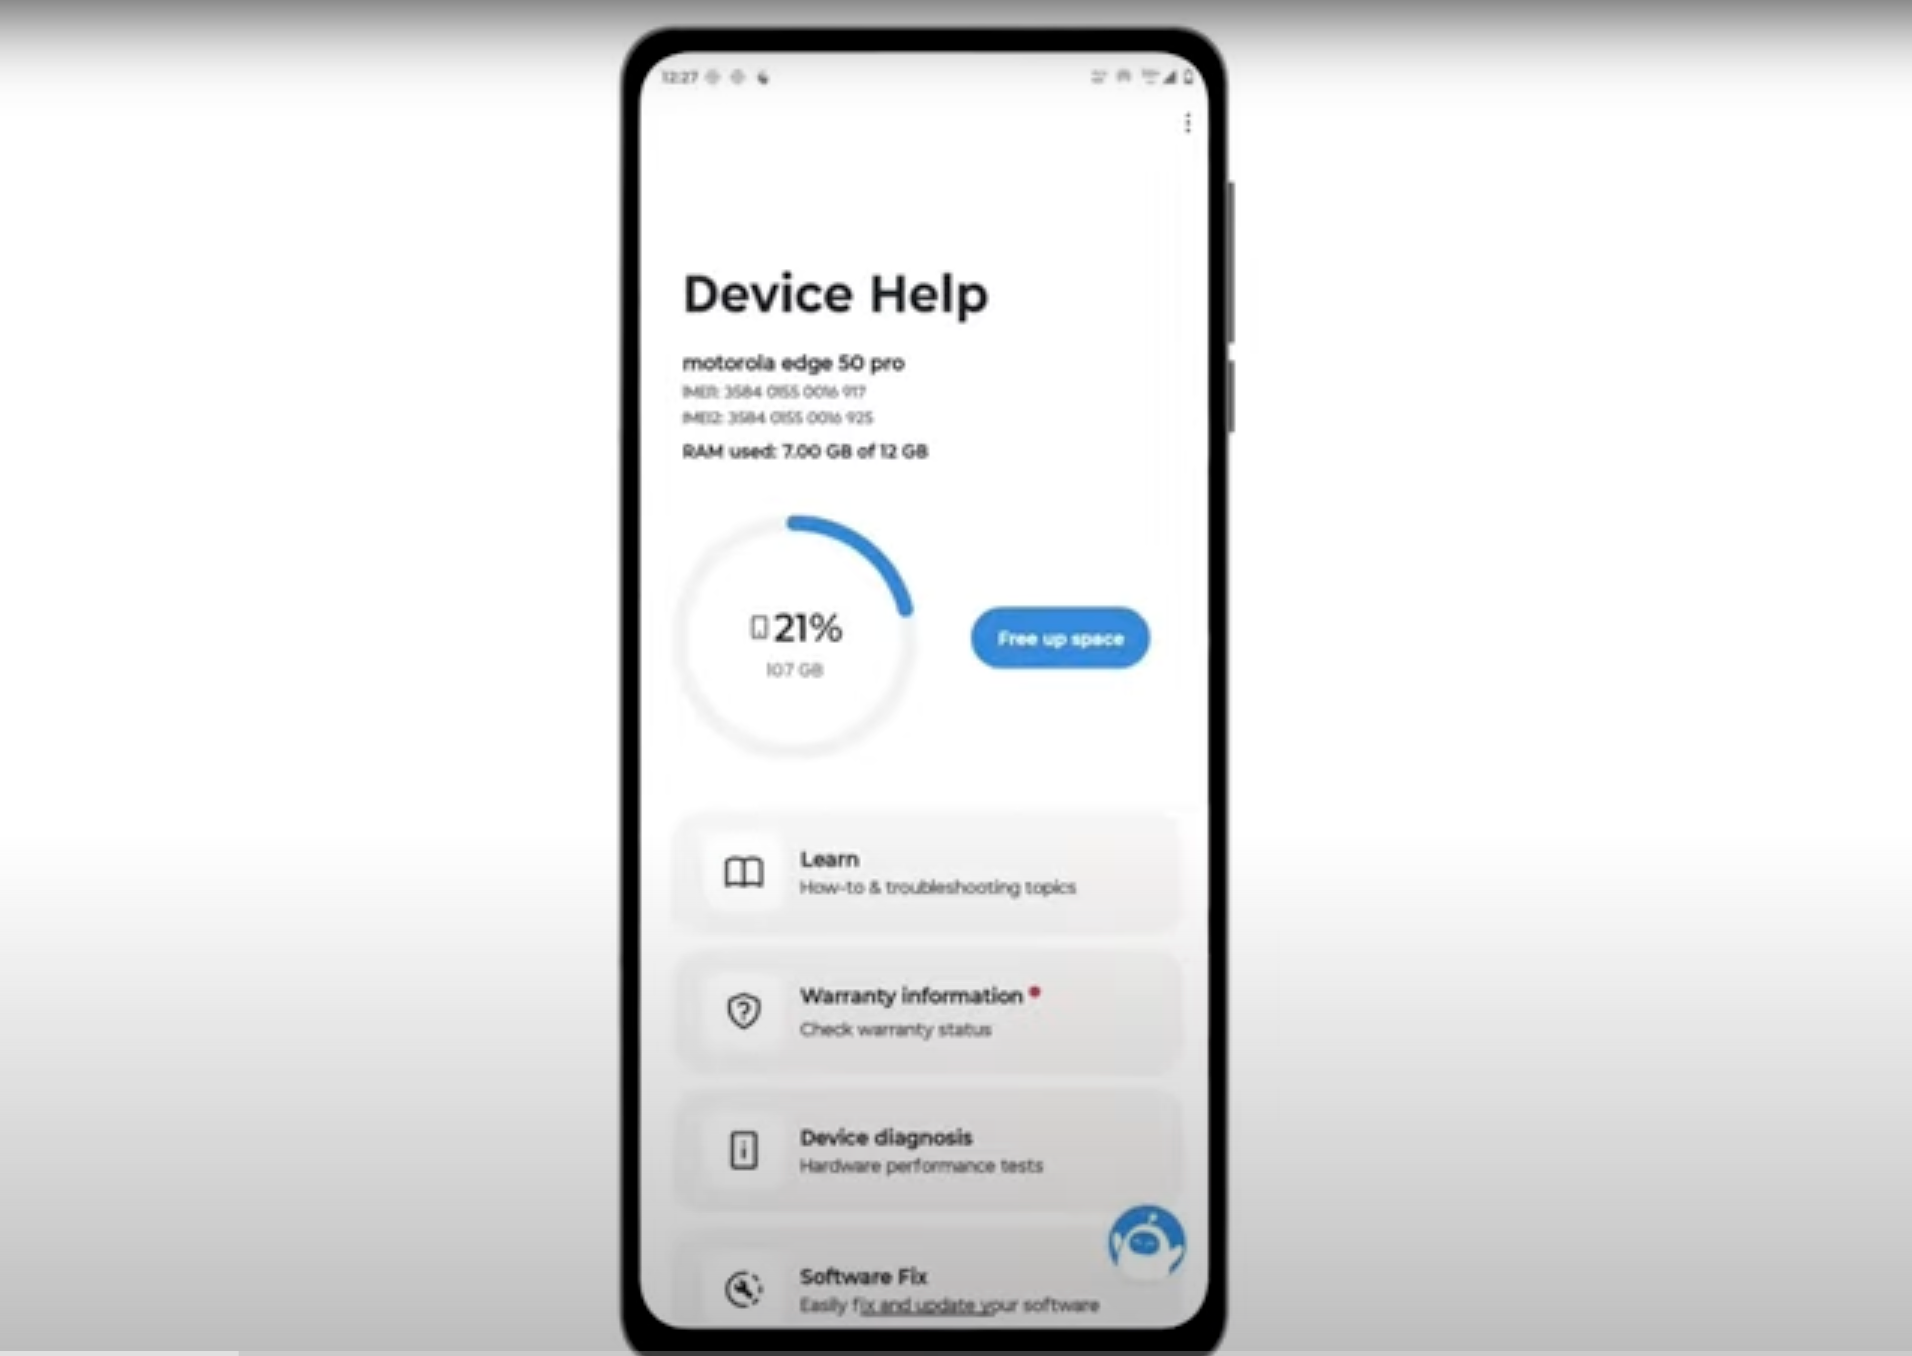
- Final Testing & Device Help App
Download and run Motorola Smart Assist to fully test your device and follow any required configuration.