Whether it’s the front, rear, or wide-angle—this guide walks you through every step
moto g35 repair

g35 - Camera Replacement
35-40 MINUTES
VIDEO / PHOTO GUIDE
Parts Used
Tools & Consumables Required
Technician notes:
Avoid touching the lens on both the existing and replacement cameras. Take extra care when peeling back the heat-conductive shielding—this step requires a bit of patience, so go slowly and gently.
Avoid touching the lens on both the existing and replacement cameras. Take extra care when peeling back the heat-conductive shielding—this step requires a bit of patience, so go slowly and gently.
- SIM Tray Removal
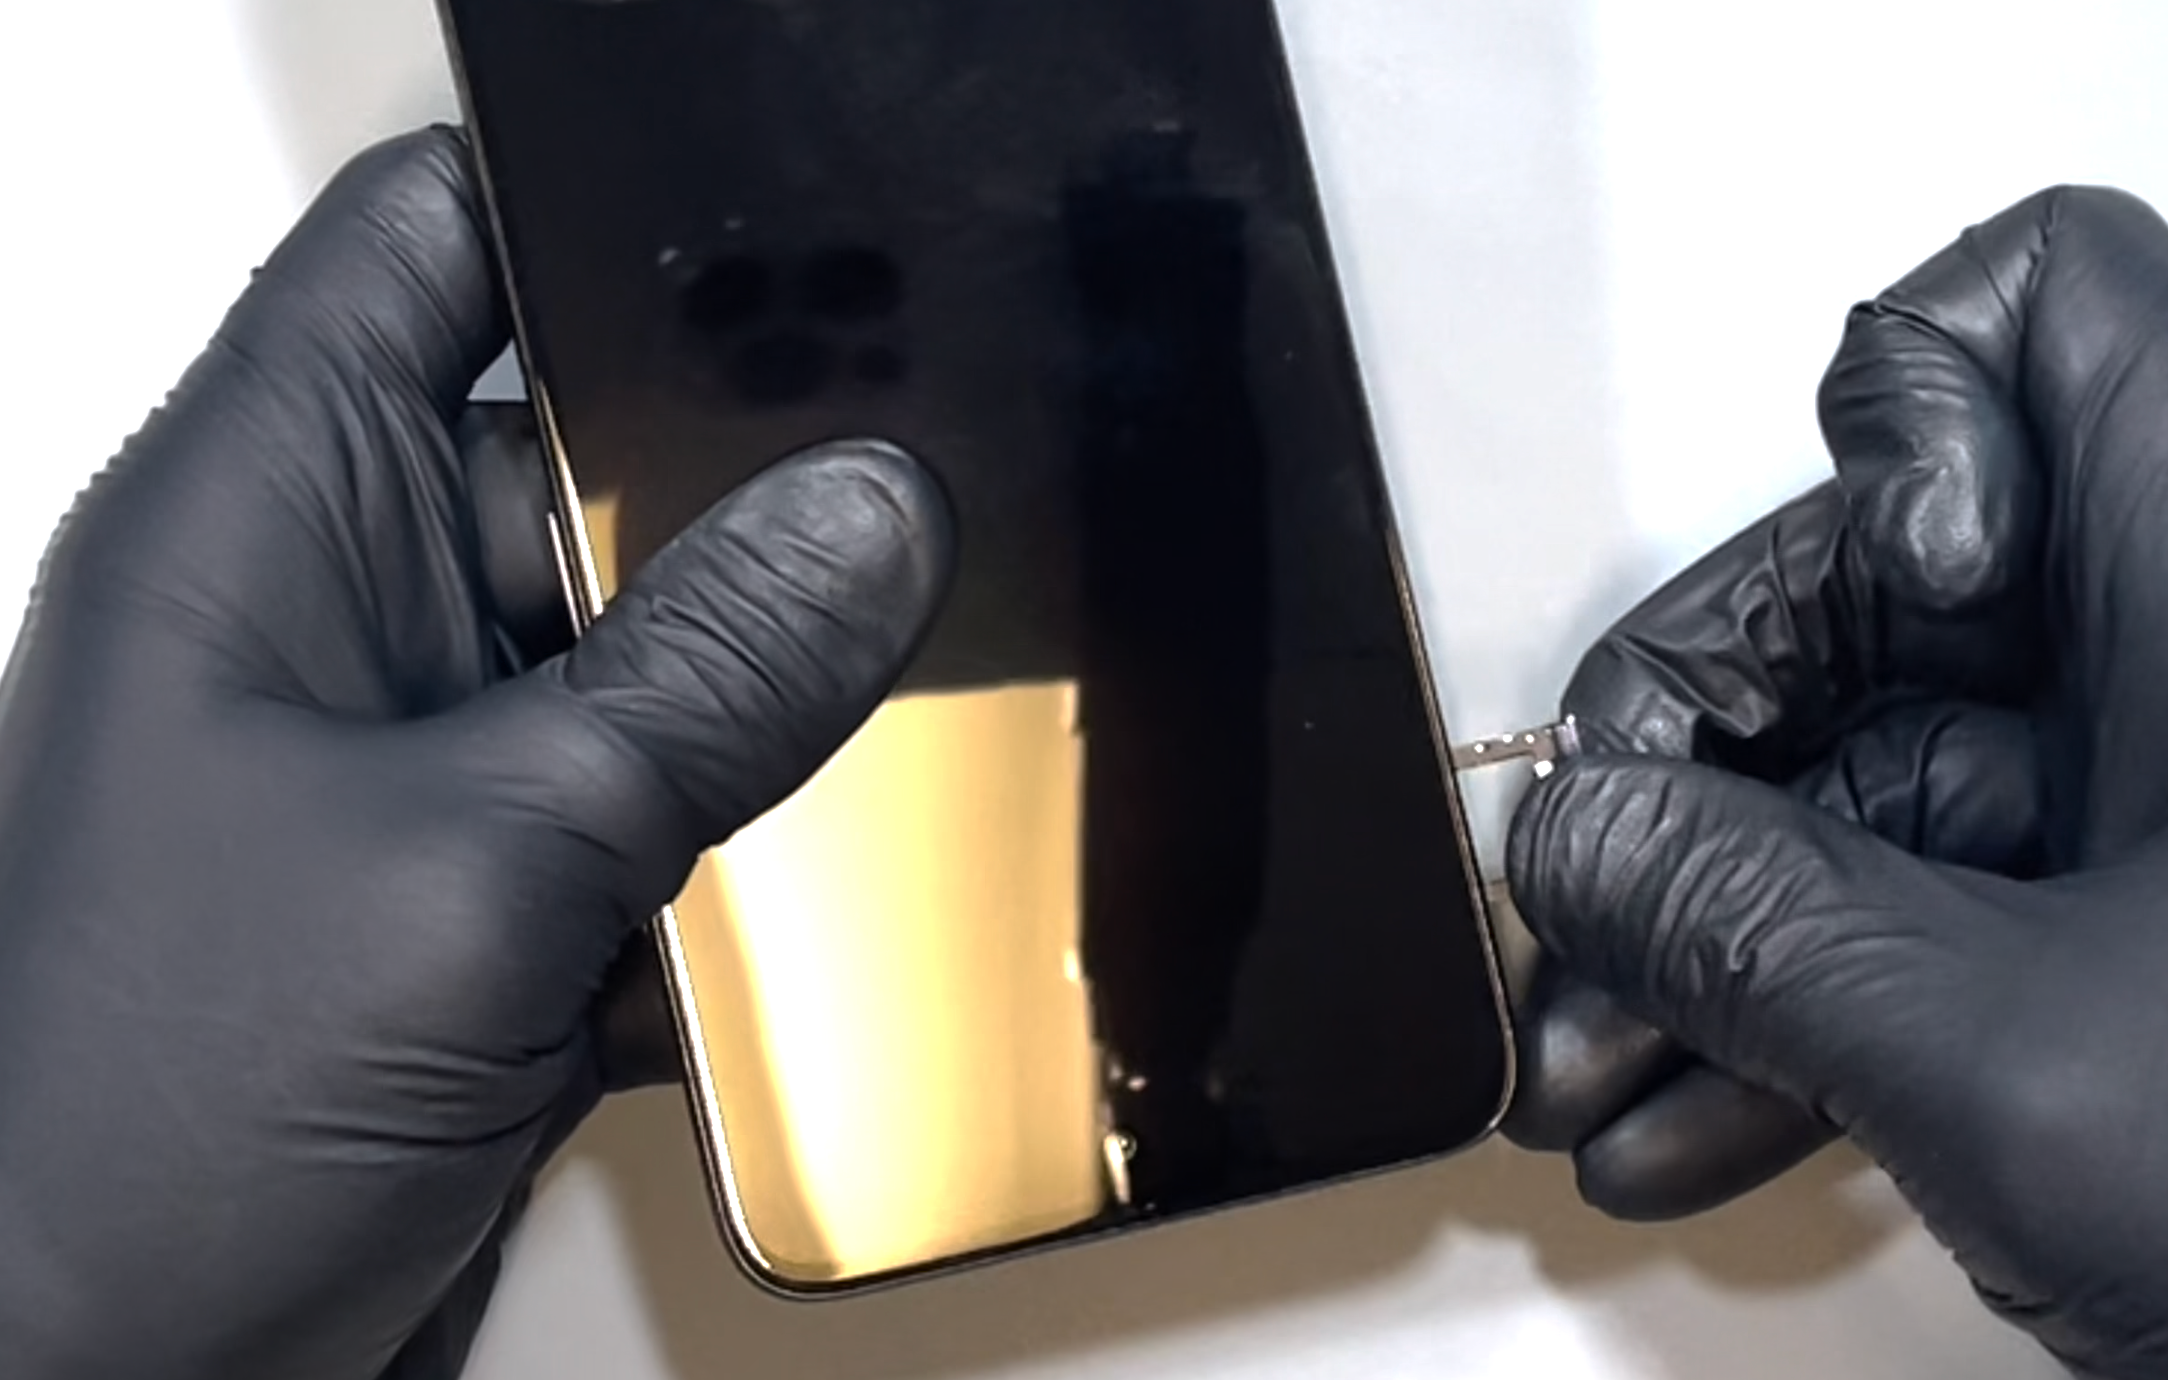

Using a SIM eject pin tool, push into the hole next to the SIM tray until the tray pops out. Remove it by hand and set it aside.
- Battery Cover Removal
Using a heat gun on a low setting or a hairdryer on medium, warm the back of the phone until it’s comfortably warm to the touch.
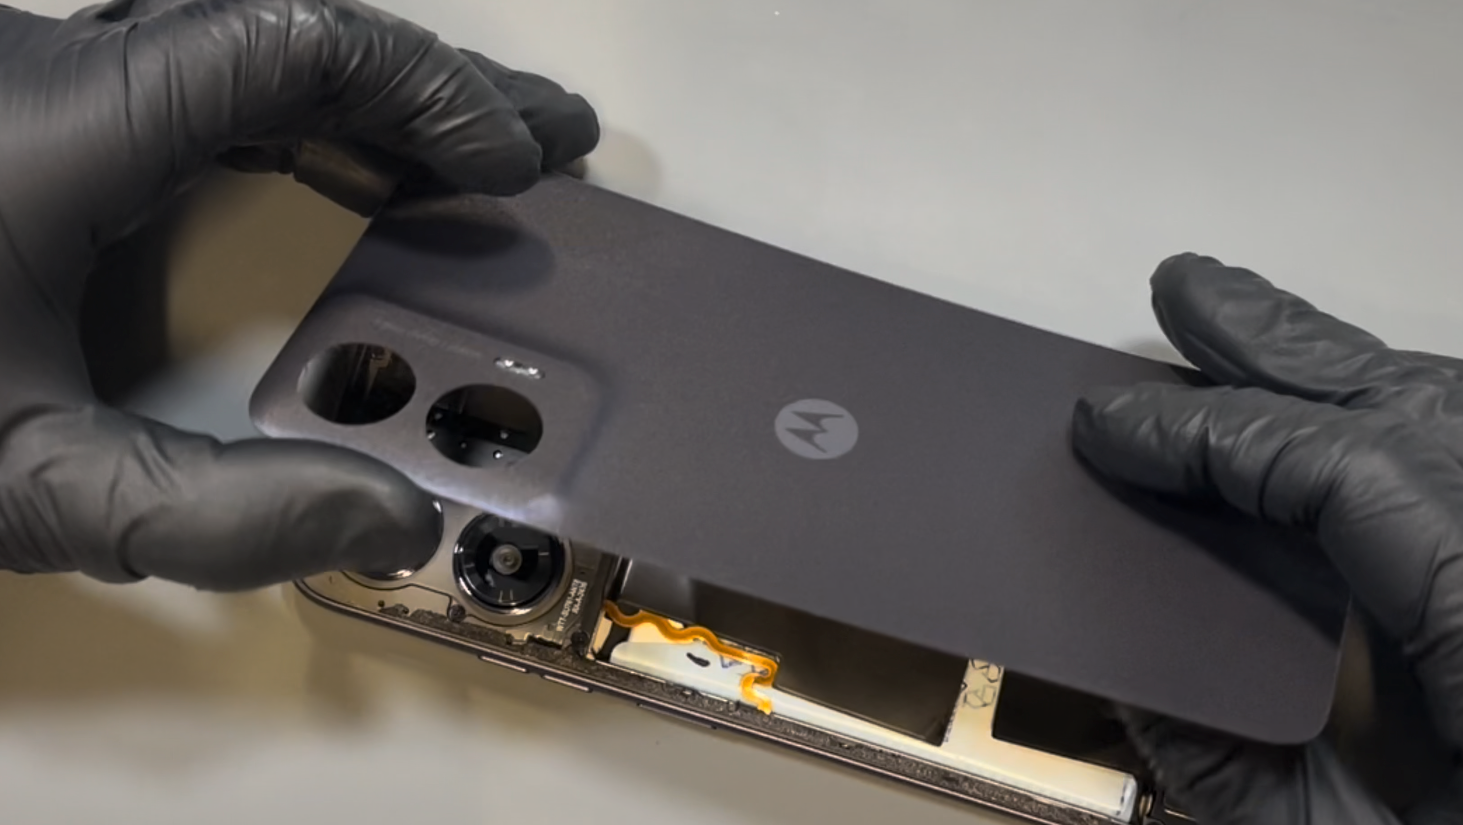
With a thin spudger or playing card and a suction cup, begin separating the back cover from the phone’s frame. Work the card around the device in a counterclockwise direction, reheating as needed to keep the adhesive soft. Be careful not to insert the card more than 10mm—especially on the left side, where delicate components are located.
Continue until the adhesive seal is fully broken. Once the cover feels loose, gently wriggle it free until it separates completely from the device.
- Chassis / Frame Removal
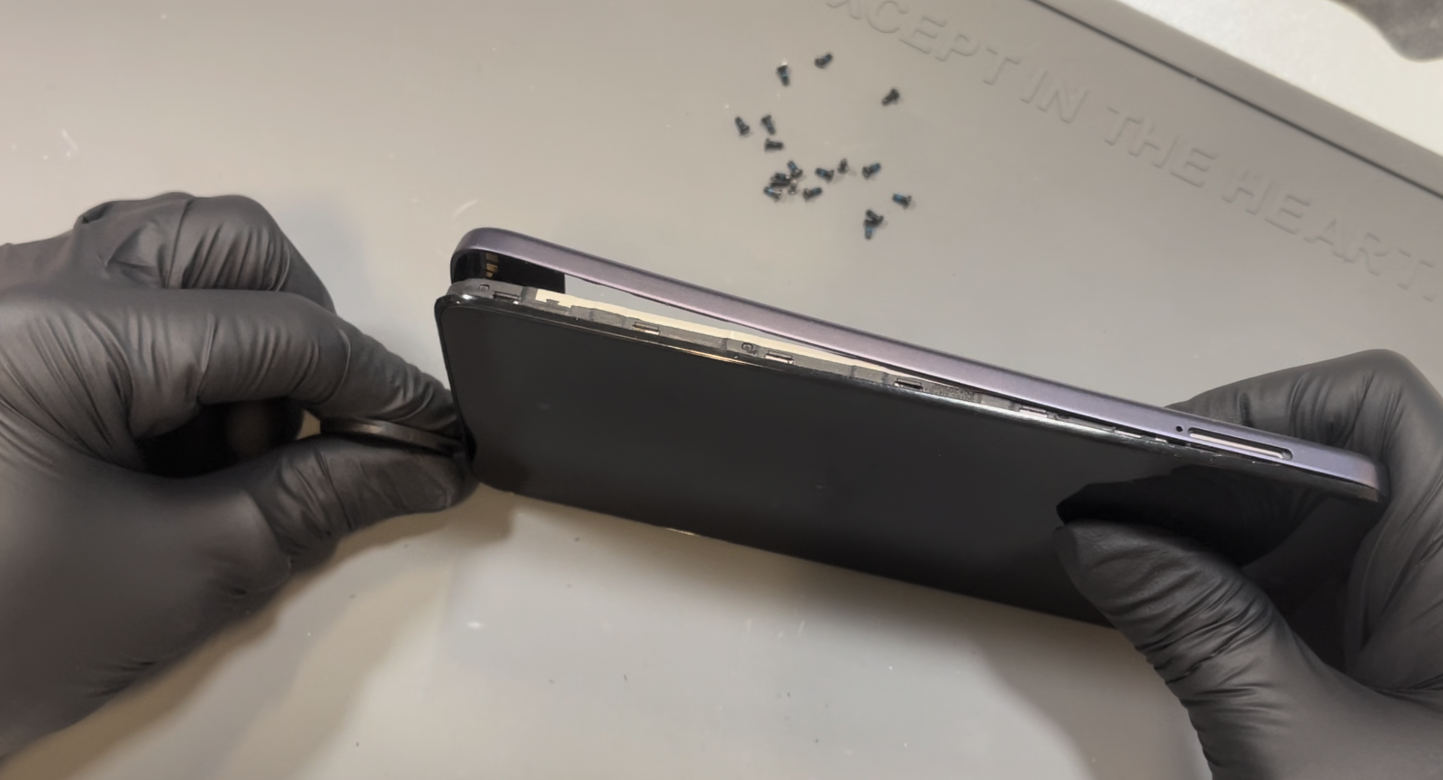
Remove the 18 screws holding the frame in place. This includes the white-tipped screw near the loudspeaker. Some screws may not lift out with the magnetic driver—use tweezers to help remove them if needed.
Once all screws are removed, insert a pick or prying tool near the empty SIM card slot for easy access, and gently rotate it around the phone to release the frame. This part of the process is typically quite easy.
After separating the perimeter, lay the phone flat on the table and carefully lift the frame slightly. You only need to lift it enough to expose the fingerprint sensor cable connection.
Once the connector is visible, disconnect it carefully. You can now set the chassis aside.
Next, disconnect the battery from the motherboard.
- Motherboard Removal
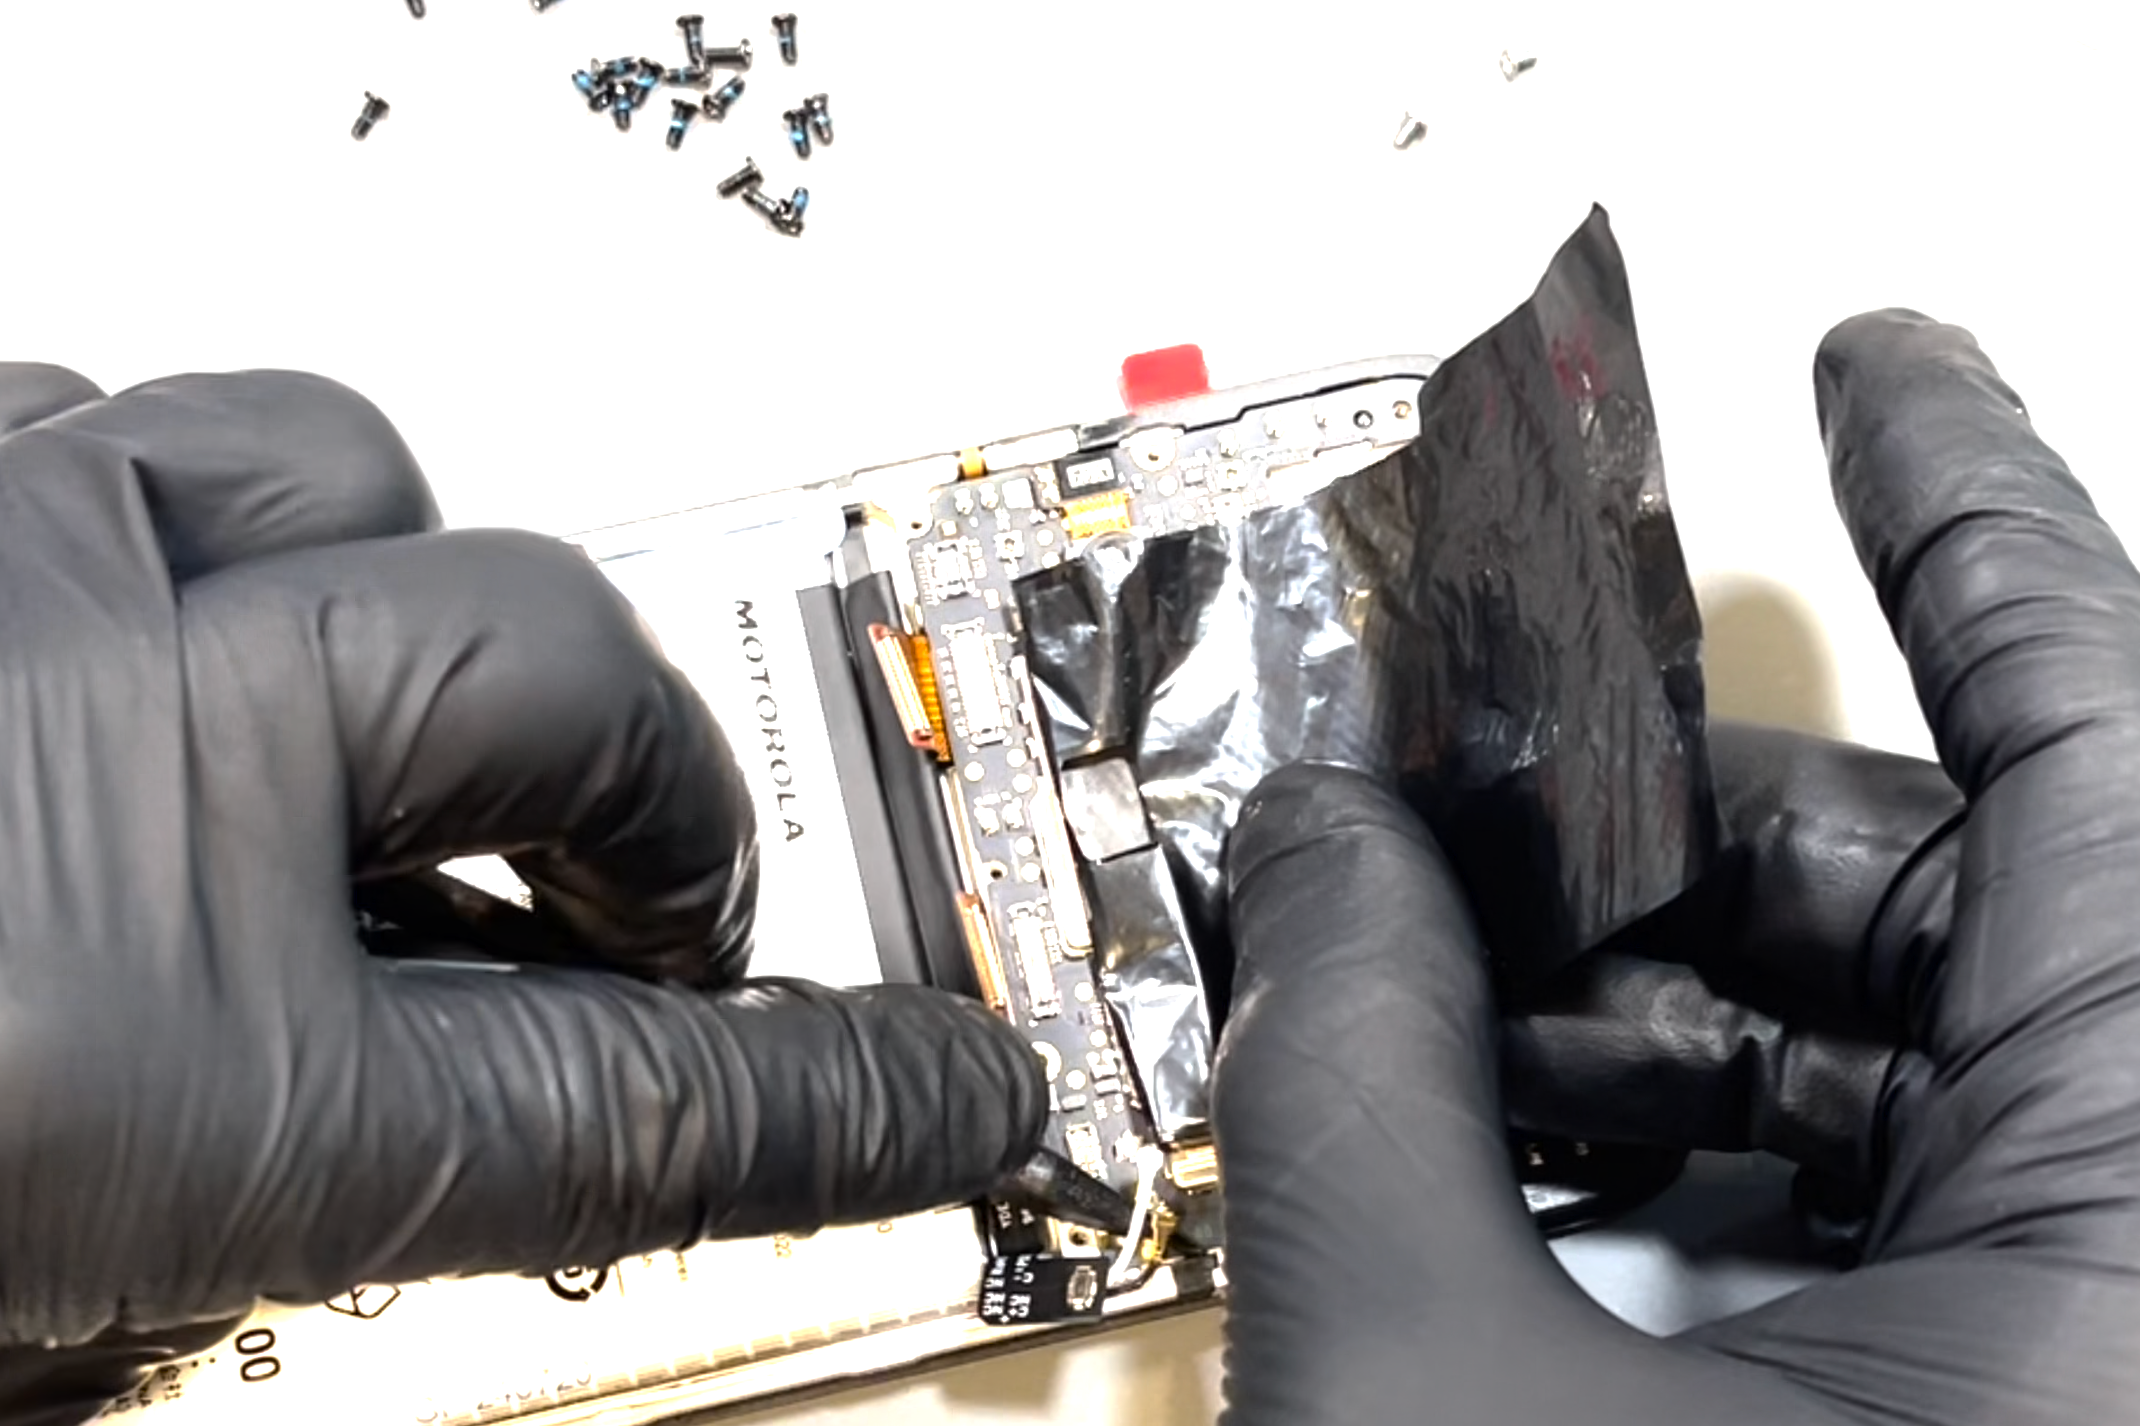
Remove the two screws securing the board in place. These are silver screws and smaller than the others you've already removed, so keep them separate. Disconnect the two flex cables—one for the screen and the other for the charge port—as well as the two small antenna coaxial cables. Before lifting out the board, gently peel back the copper cover from the earpiece shown. Once that's done, carefully lift the board slightly and pull it towards the charging port to remove it.
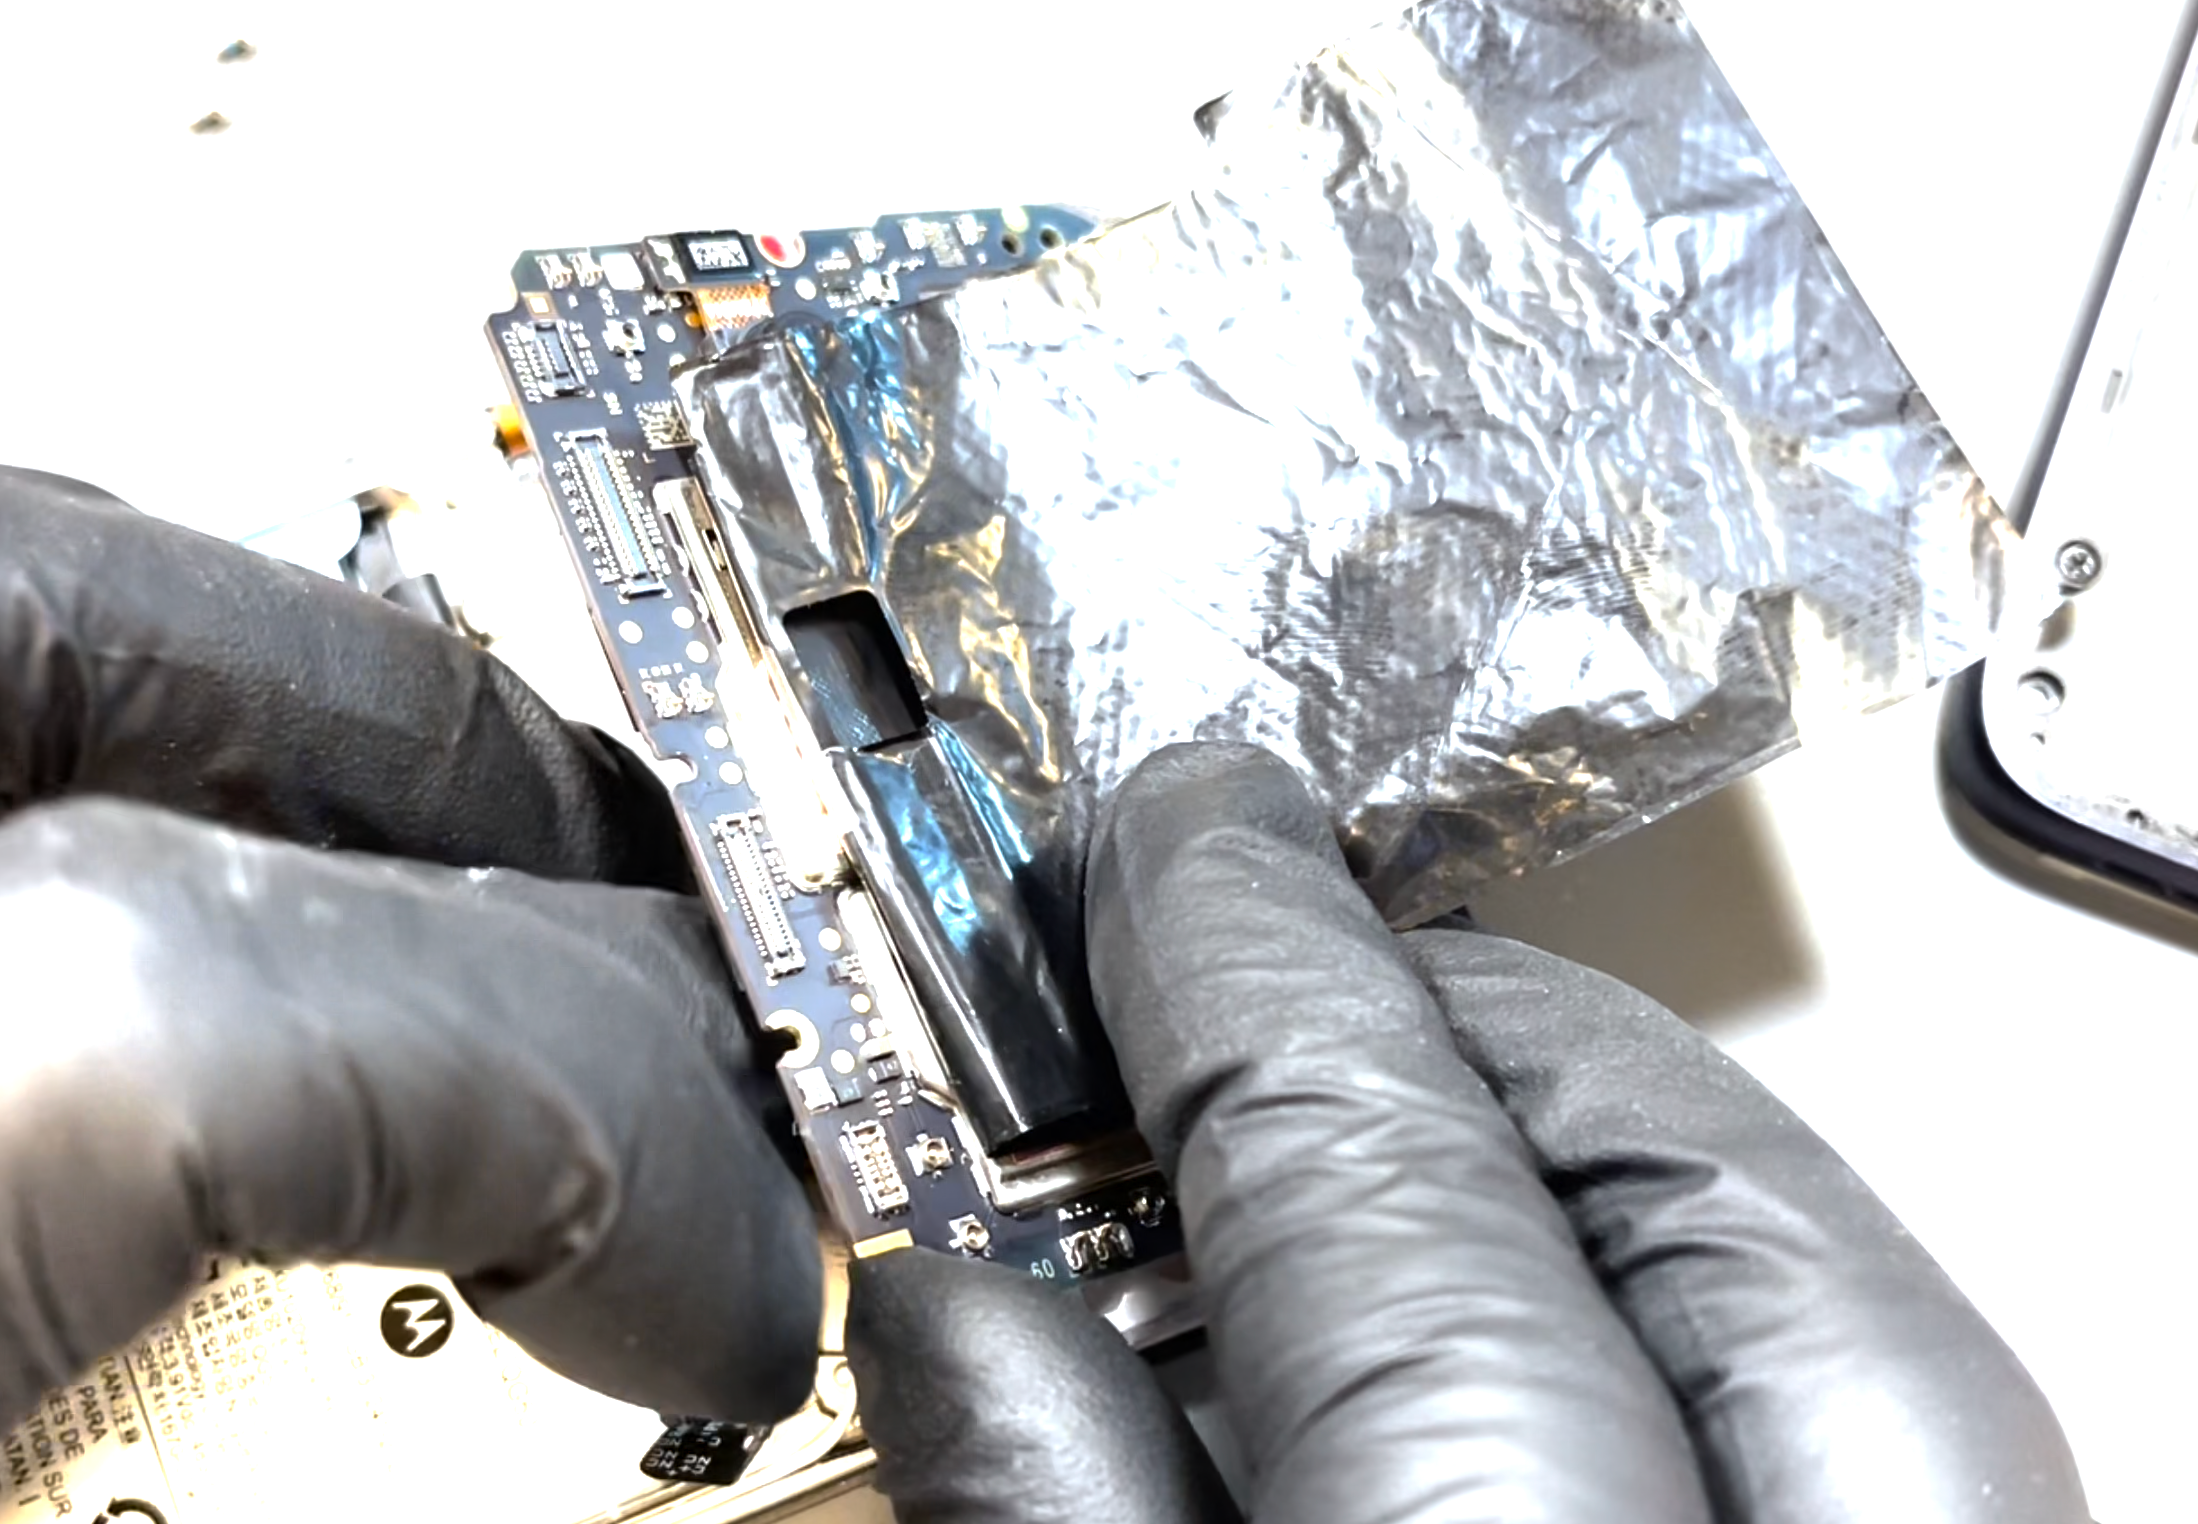
- Camera Removal & Installation
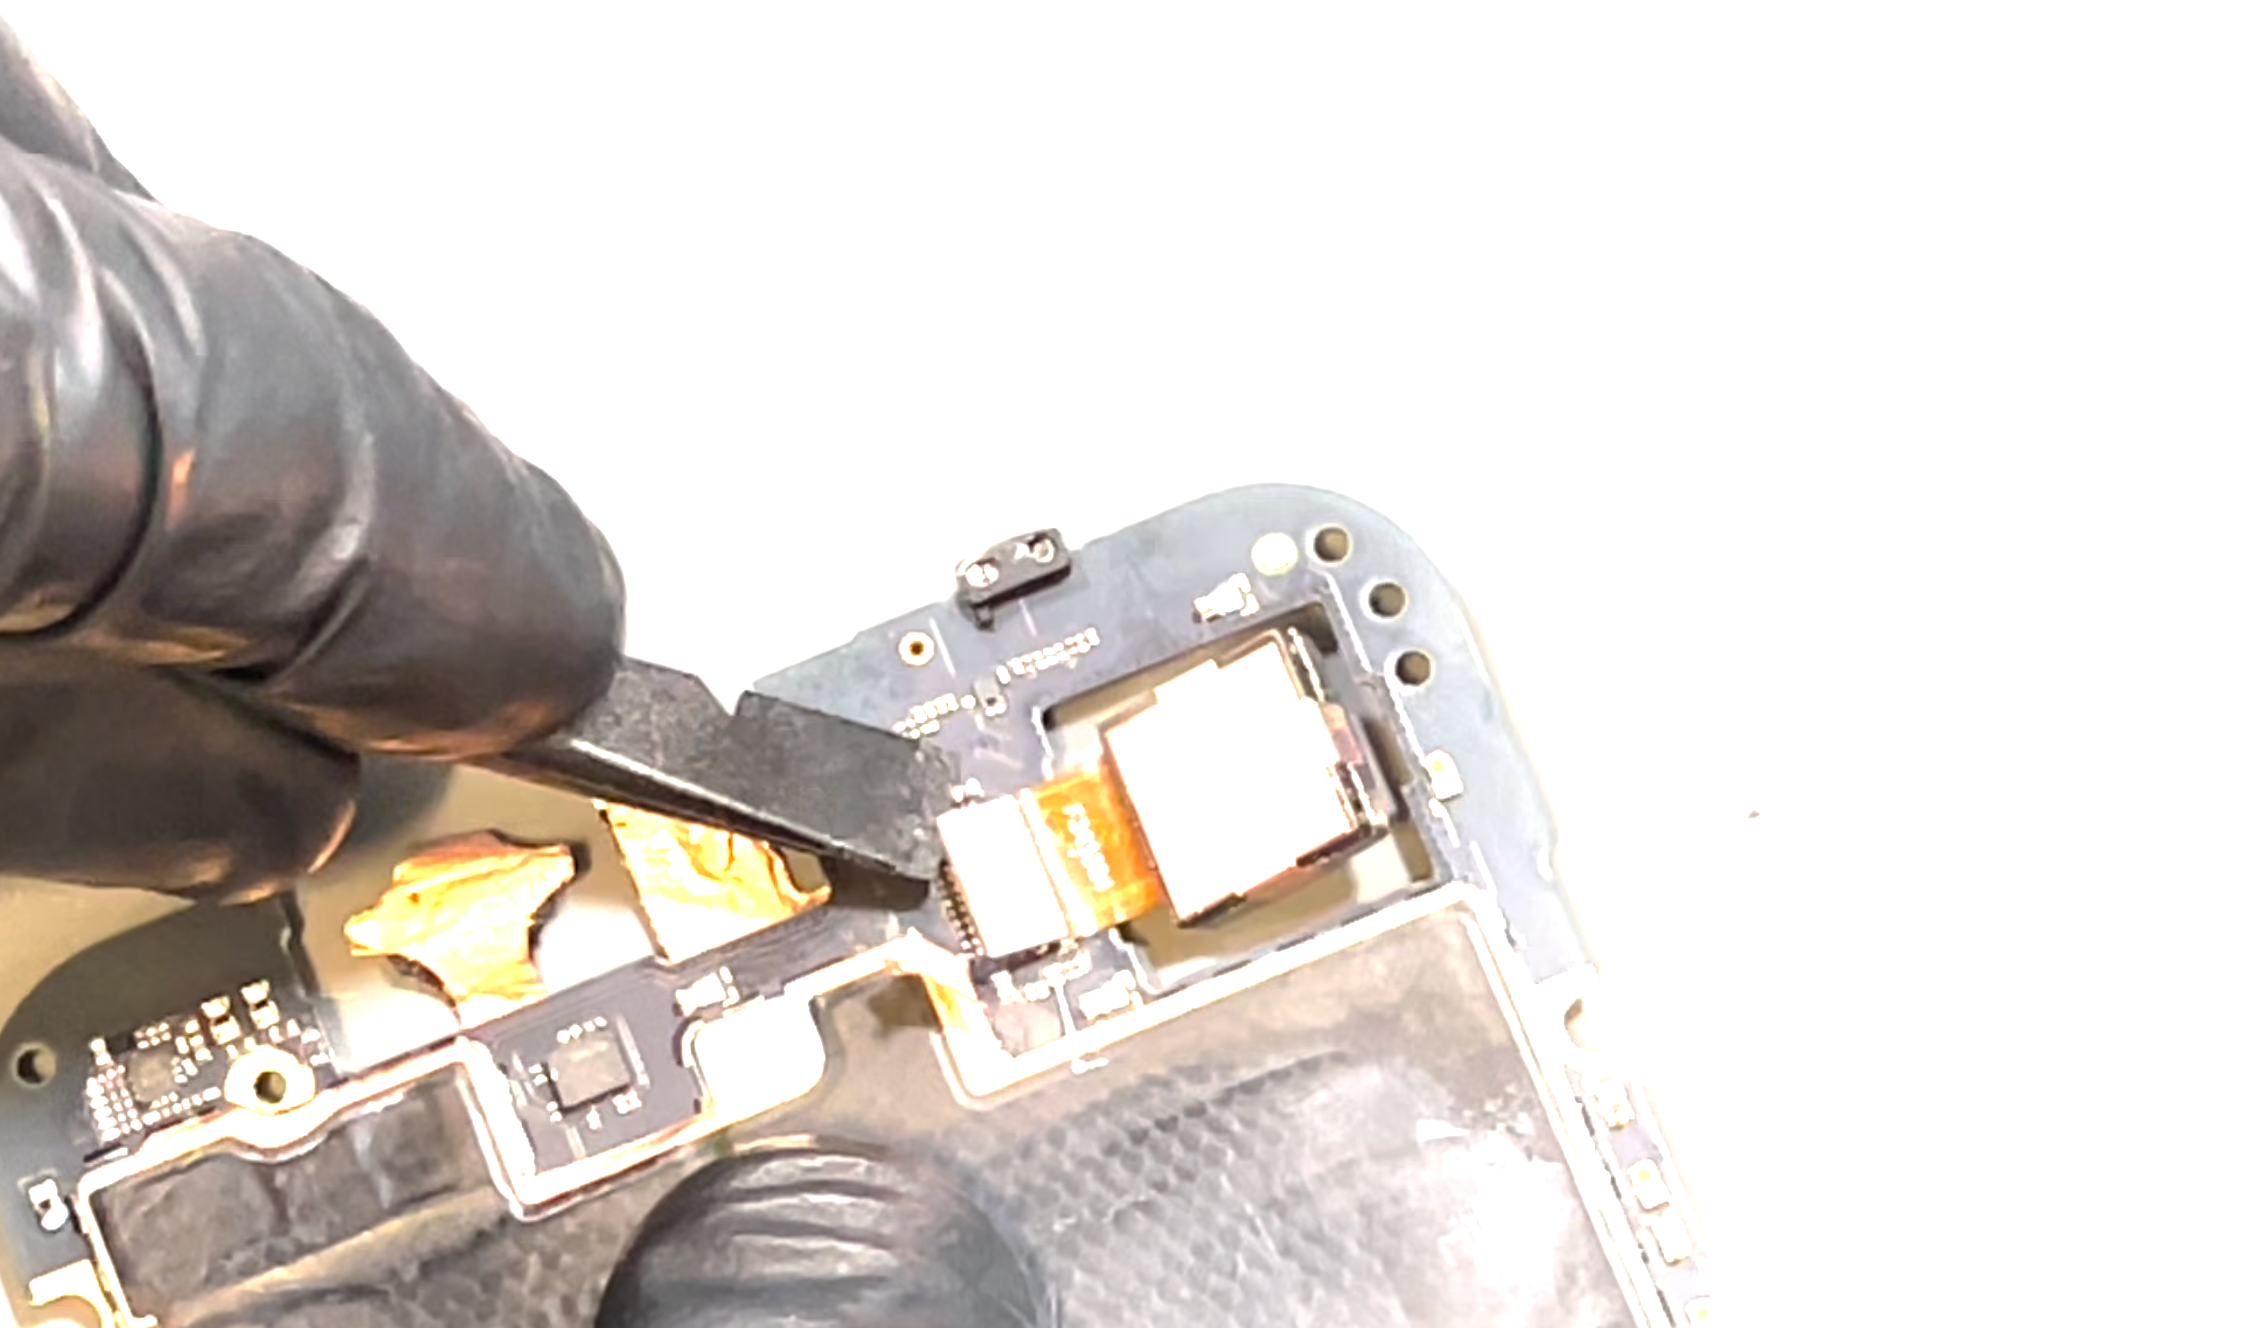
Clean off any excess thermal compound from the board and camera surfaces—this may vary in colour depending on the device.
Each camera is directly connected to the motherboard. Locate the camera that needs replacing, then disconnect and replace it as shown in the video.
Two of the cameras have a copper heat shield—these can be reused if you're careful not to damage them during removal.
Be careful not to touch the new or existing camera lenses directly.
- Motherboard Installation
Clean any residue from your existing screen assembly—this may vary in colour and consistency. Once fully removed, reapply new thermal compound to the indicated areas on the phone’s frame (square and rectangular zones).
Next, install the motherboard. Start by positioning it from the front camera side and then push it down into place. Make sure all flex and antenna cables are clear and not trapped underneath the board before pressing firmly into position.
Press the copper heat sticker back in place over the earpiece.
Once the board is seated correctly, reconnect the two flex cables and the two antenna coaxial cables.
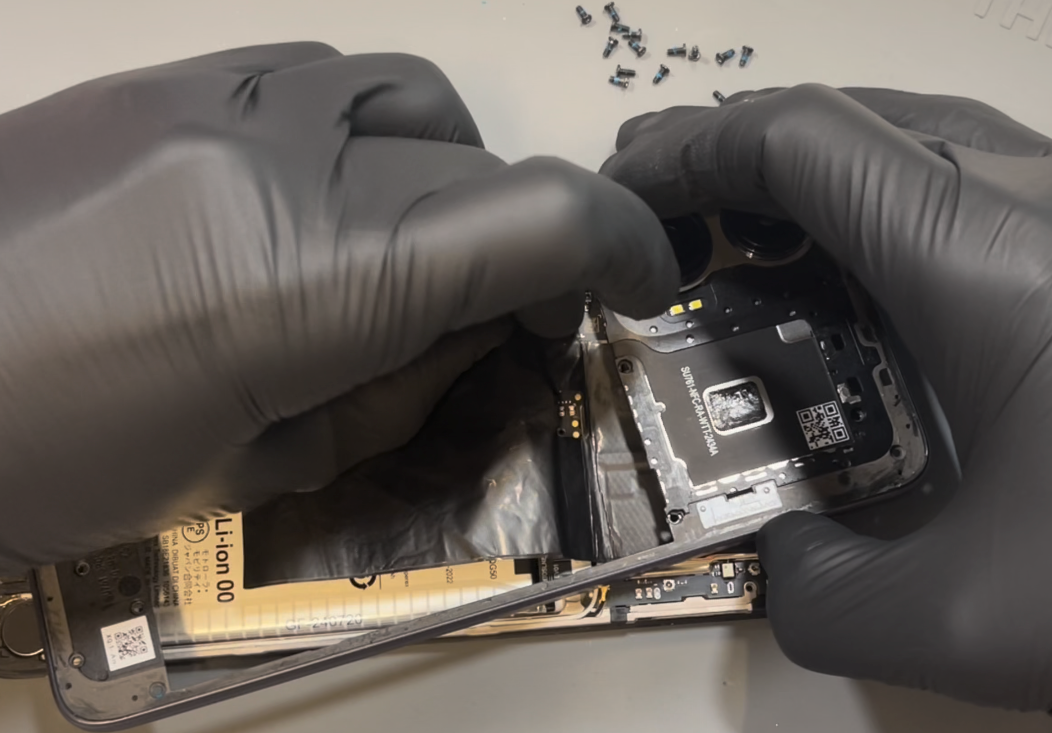
- Frame Re-Assembly
Reconnect the battery and then connect the flex cable for the fingerprint sensor. This step can be a little tricky, as the frame needs to be loosely positioned on the phone to allow access to the connector.
Once the fingerprint sensor is connected, press the frame into place and apply firm, even pressure all around the edges. You should hear several clicks as the frame snaps into position, and there should be no visible gaps around the phone.
Once everything is aligned and secured, reinstall all the screws in any order. Do not overtighten them—just enough to hold everything firmly in place.
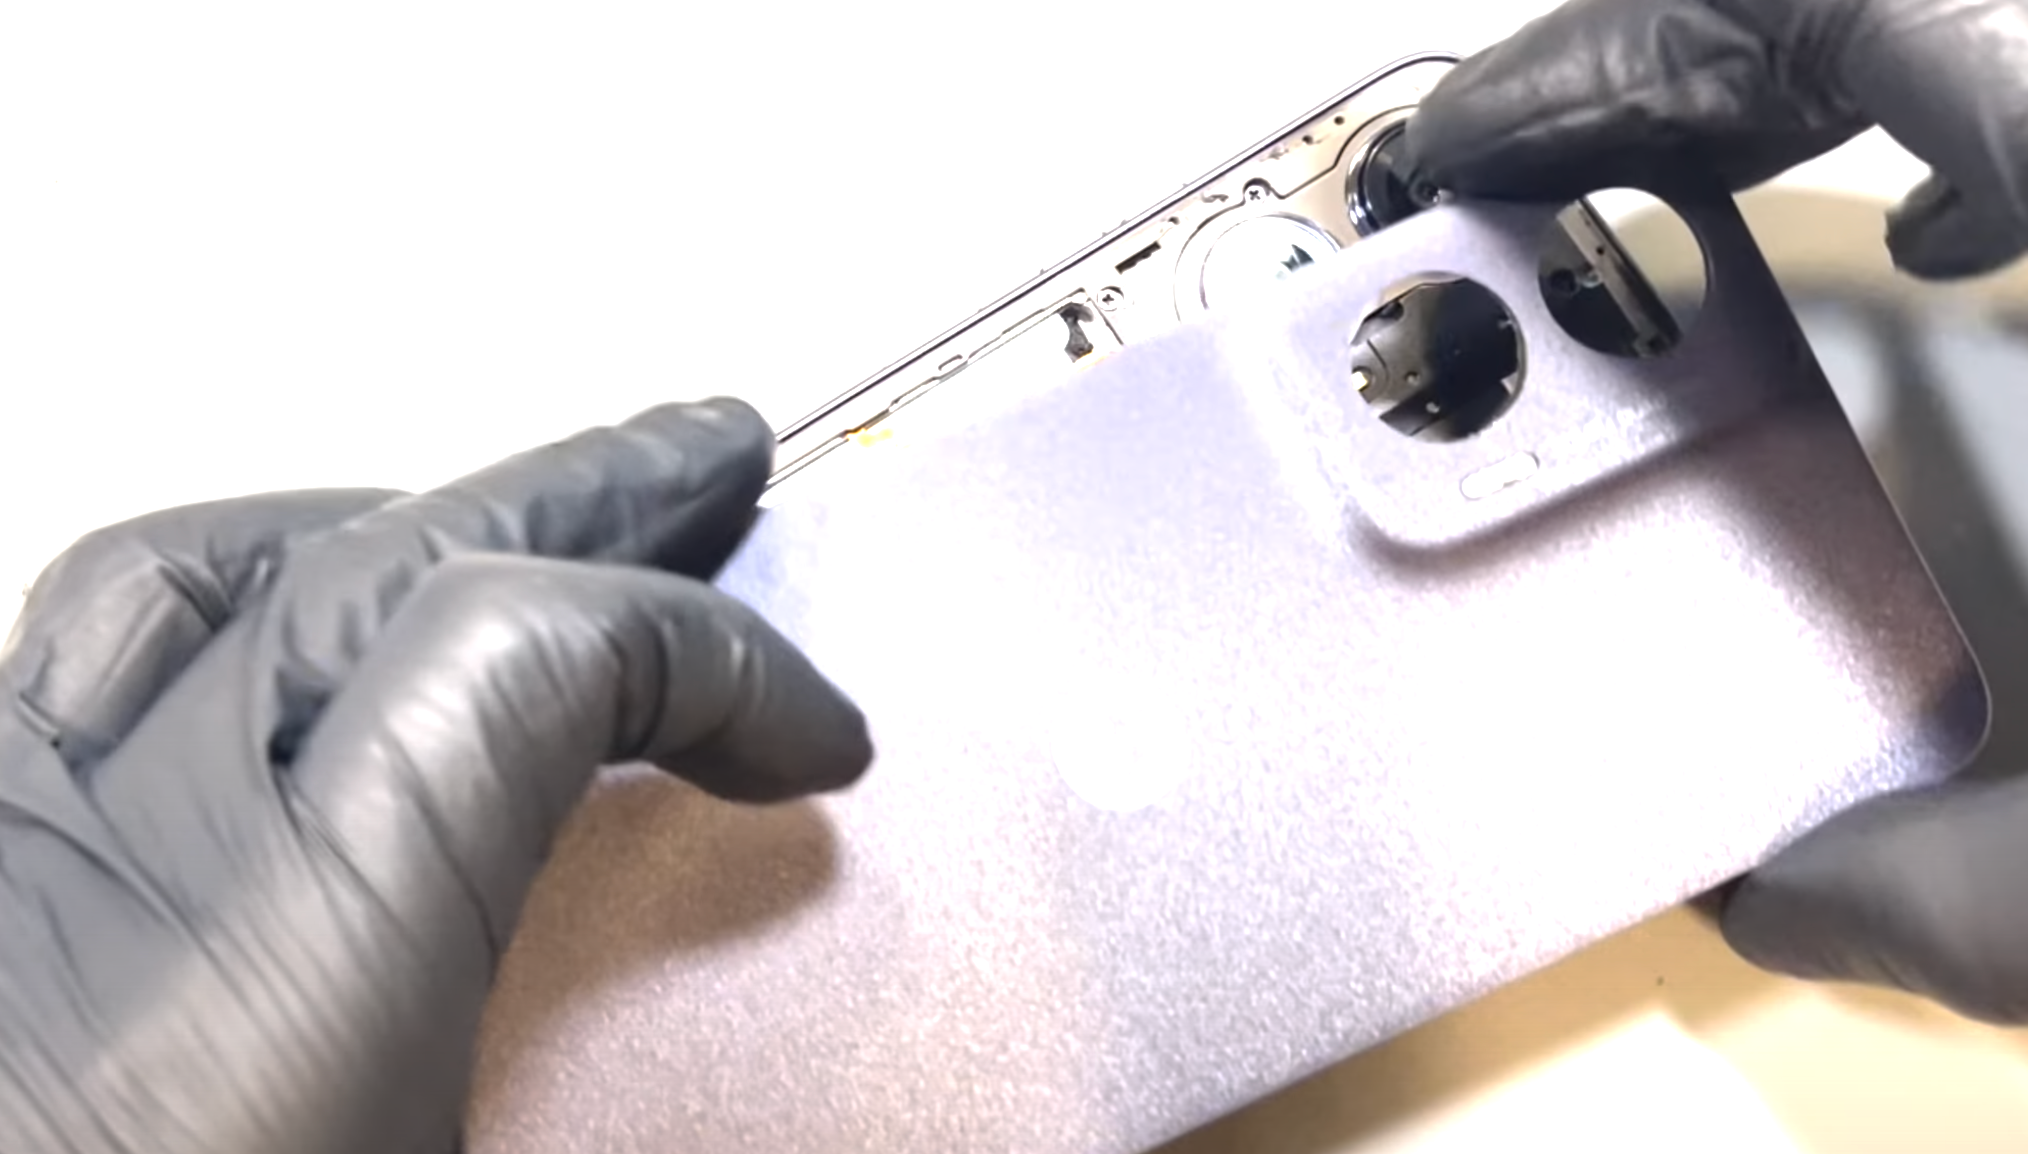
- Battery Cover Installation
Start by removing all old adhesive from the phone’s frame. Light residue or faint marks are fine, but any thick or clumped adhesive must be fully cleared. Repeat this process for the battery cover. This step can take some time—be patient, and use gentle heat if needed to soften any stubborn residue.
Once both surfaces are clean, you’ll need to install four sections of adhesive. You should be able to see the outline of the original adhesive on your old panel—if not, refer to the video for guidance.
Begin by peeling the backing off the smallest section of adhesive and placing it in the bottom right corner. Next, take the single sheet with four sections and apply it to the top left quarter of the battery cover, as shown in the video. Then, align the next piece of adhesive around the camera cutouts and flash diffuser.
Each adhesive section can be repositioned until firmly pressed. Before applying pressure, make sure no adhesive is overhanging the edges of the battery cover. Once you're happy with the placement, apply firm pressure across all adhesive areas to secure them, then set the cover aside for five minutes to allow the adhesive to begin setting.
Finally, peel the backing off the main battery cover adhesive. Align it using the top edge and corners of the phone as a guide. Gently rest it in place to check alignment. If needed, lift and reposition it carefully. Once satisfied, press down evenly across the adhesive to ensure a strong bond.
When everything is aligned, remove all remaining protective films. Place the battery cover onto the phone, once again aligning it with the top edge and corners. Press firmly around the entire perimeter and around the camera lenses until the cover feels fully secure and properly sealed.
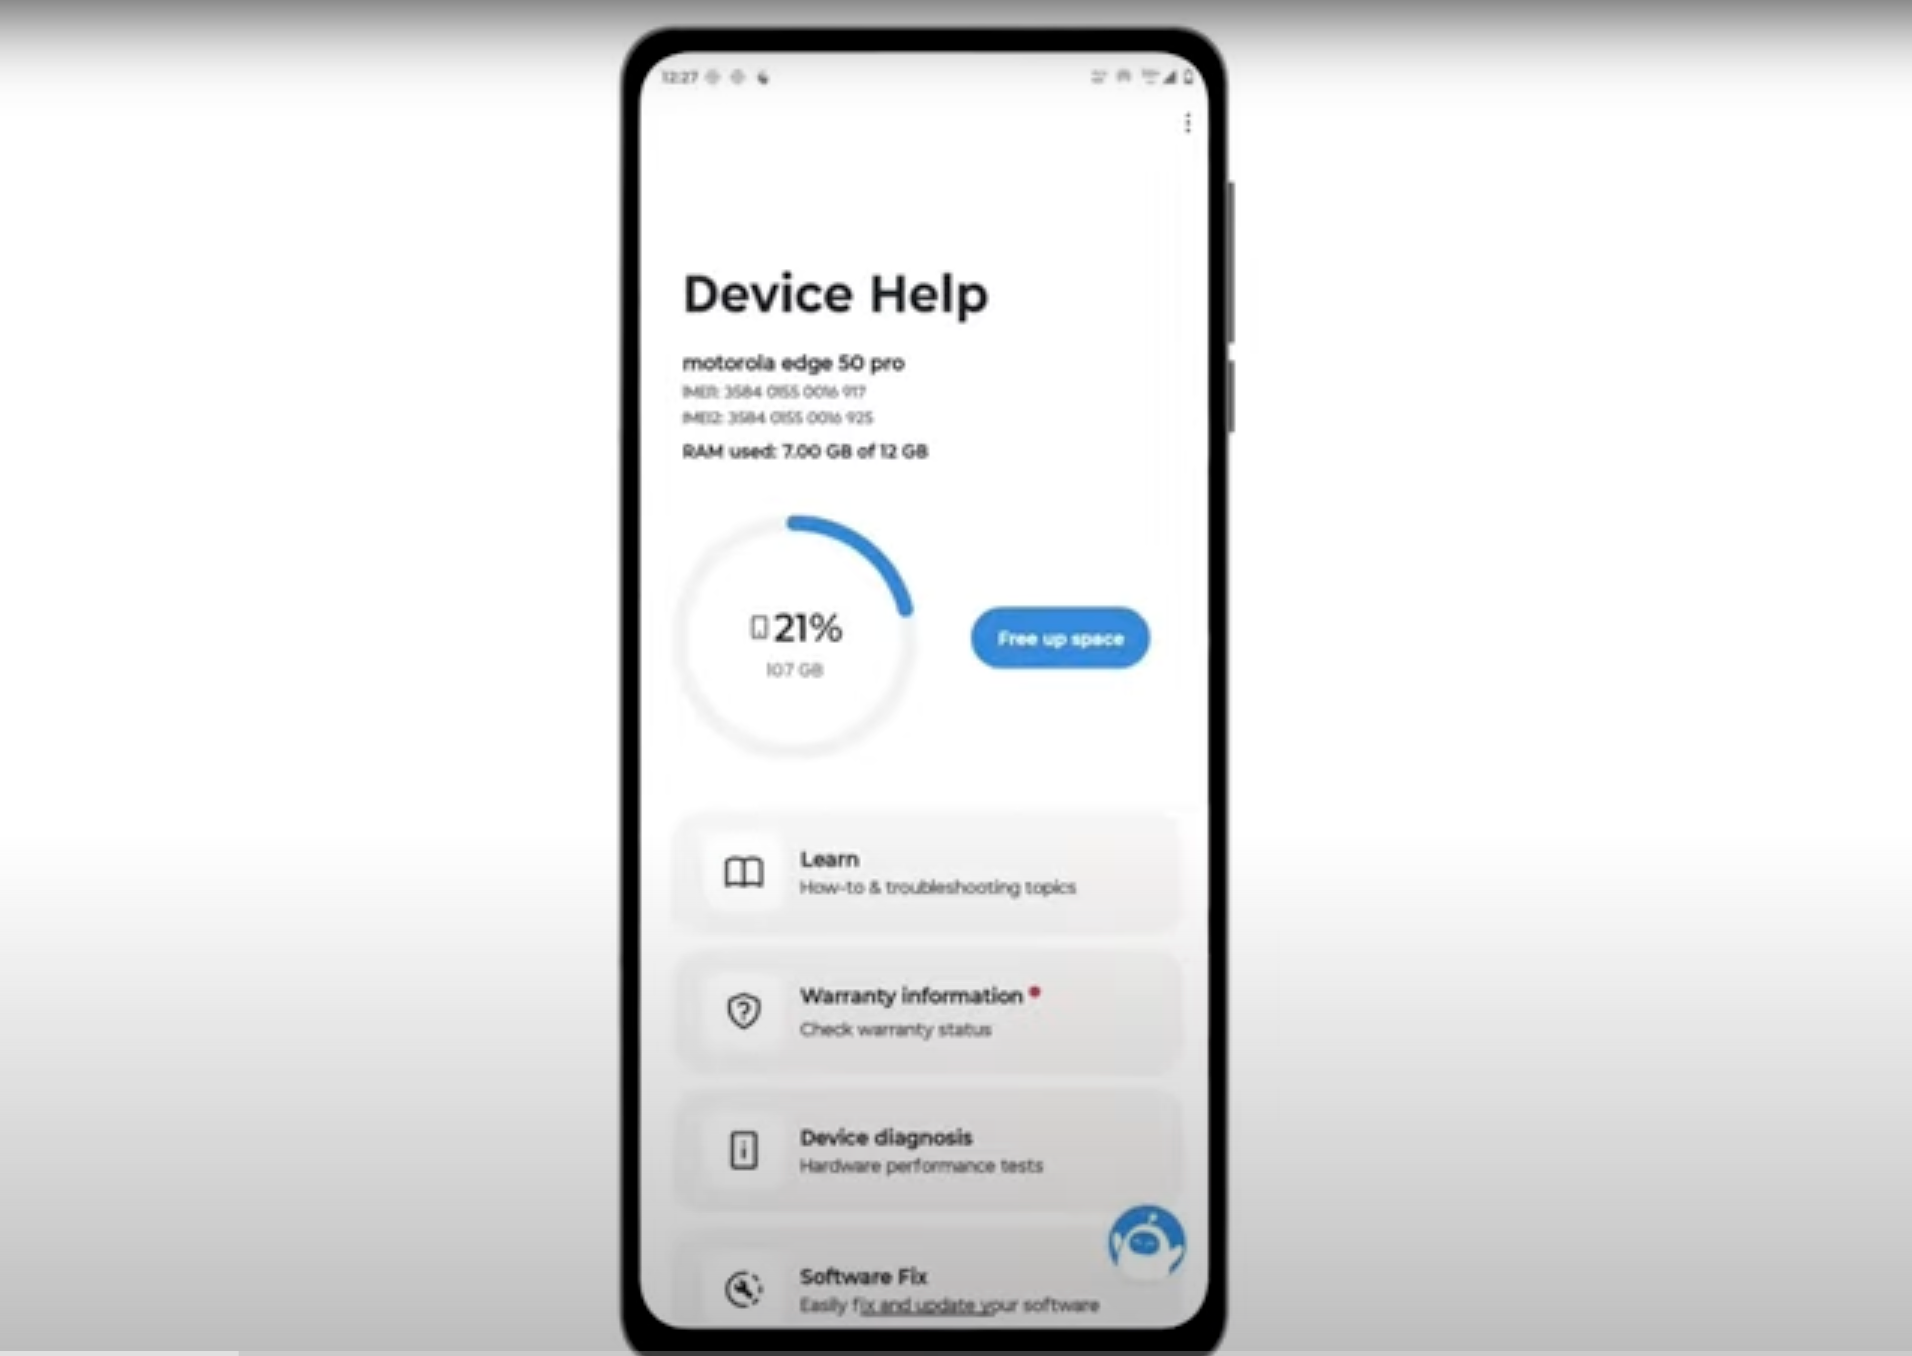
- Final Testing & Device Help App
Download and run Motorola Smart Assist to fully test your device and follow any required configuration.