Confidently replace your charge port with ease using this step-by-step guide. Clear instructions, no guesswork—just follow along and get it done right.
moto g05 repair

g05 - Charge Port Replacement
20-25 Minutes
VIDEO / PHOTO GUIDE
Parts Used
Tools & Consumables Required
Technician notes:
When it comes to charge port replacements, this is one of the easiest we’ve seen. The most time-consuming part? Cleaning off the old adhesive. It’s not difficult—just take your time and be patient. A clean finish makes all the difference.
When it comes to charge port replacements, this is one of the easiest we’ve seen. The most time-consuming part? Cleaning off the old adhesive. It’s not difficult—just take your time and be patient. A clean finish makes all the difference.
- SIM Eject & Battery Cover Removal

Use the SIM eject tool to press into the small hole next to the SIM tray—this will pop the tray out just enough for you to remove it by hand. Set the tray aside safely.
Next, warm up the battery cover, focusing on the edges. Use a heat gun on a low setting or a hairdryer on medium until the cover feels warm to the touch.
Use the blade tool to carefully create a small gap at the bottom of the phone. Once there's enough space, insert the card tool and begin working it counter-clockwise around the device. Be sure to insert the card no deeper than 1–2 cm.
Take extra care on the left-hand side near the volume buttons—there's a flex cable here that can be easily damaged if the card goes too deep. Reapply heat as needed to soften the adhesive.
Once you've worked around the entire edge and broken the seal, gently wriggle the back cover off. This will release any remaining adhesive, particularly around the camera area.
- Chassis Removal
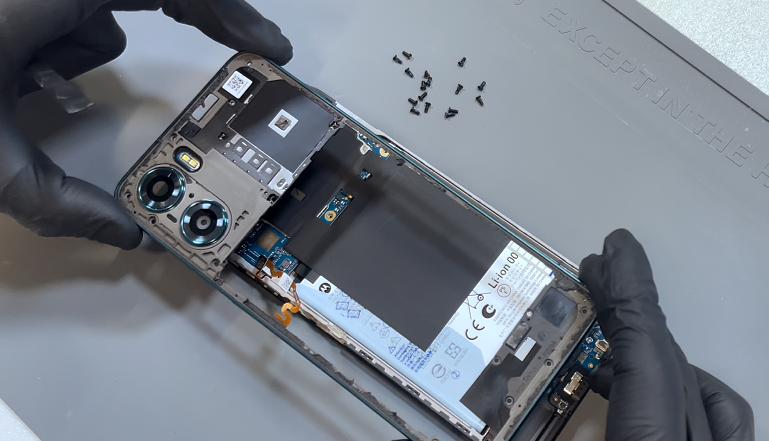
Remove the screws securing the internal frame—there are 9 at the top and 7 at the bottom. Once removed, double-check to ensure none have been missed.
Using a solid pry tool, begin separating the chassis from the screen. The easiest entry point is next to the empty SIM card slot. Insert the tool to create a small gap, then work your way around the entire edge of the phone. No adhesive is used here, so the frame should unclip with gentle pressure.
Once the frame is free, place the phone face down and slowly lift the frame. Be careful—there’s a flex cable connecting it to the motherboard. Gently lift just enough to see the connector, then use a probe tool to disconnect it, as shown in the video. Once released, set the frame aside.
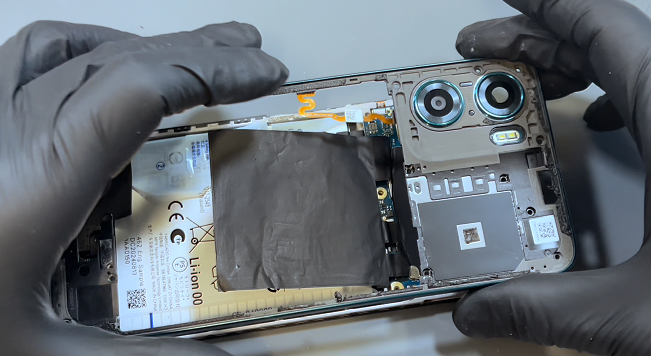
Next, remove the black shielding lightly bonded to the battery. Slide a card tool underneath and work it back and forth to loosen the adhesive. Peel the shield away, then locate the battery connector on the far-right side and disconnect it.
- Charge Port Removal & Replacement
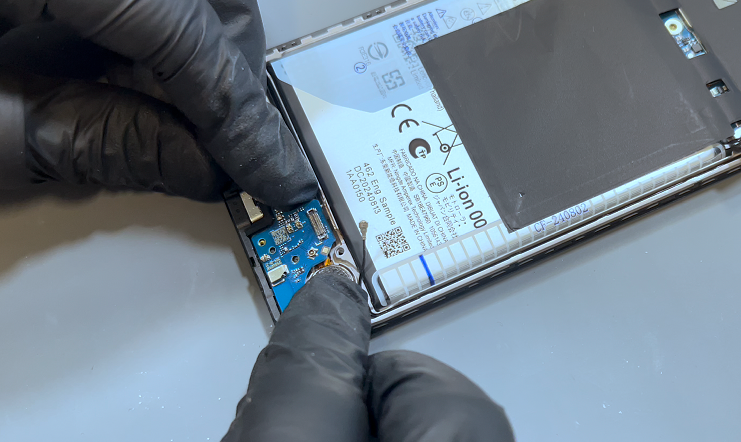
nsert the pry tool at the location shown to pop out the loudspeaker. Once removed, disconnect the flex cable and the black coaxial cable. For the coaxial cable, use the pointed end of your probe tool to gently lift under the neck of the connector with light pressure.
Next, remove the retaining screw and carefully lift the board from the back edge, then slide it out.
The rubber grommet on the charge port will also need to be transferred. It’s not adhesive-backed, so it should simply pull off and can be attached to the new charge port.
To install the new charge port, reverse the removal process—position the charge port first and secure it with the screw. Reconnect the flex cable and the black coaxial cable. Plastic tweezers can help align the connectors before applying gentle pressure to snap them into place.
Finish by reinstalling the loudspeaker.
- Main Frame Installation
Reconnect the battery, then loosely position the internal frame back on top of the phone. Reconnect the flex cable for the fingerprint sensor, ensuring it's securely attached.
Once connected, press the frame gently into place, applying light pressure around the edges—you should hear it click as it locks in.
When you're satisfied with the fit, secure the frame with all screws: 9 at the top and 7 at the bottom.
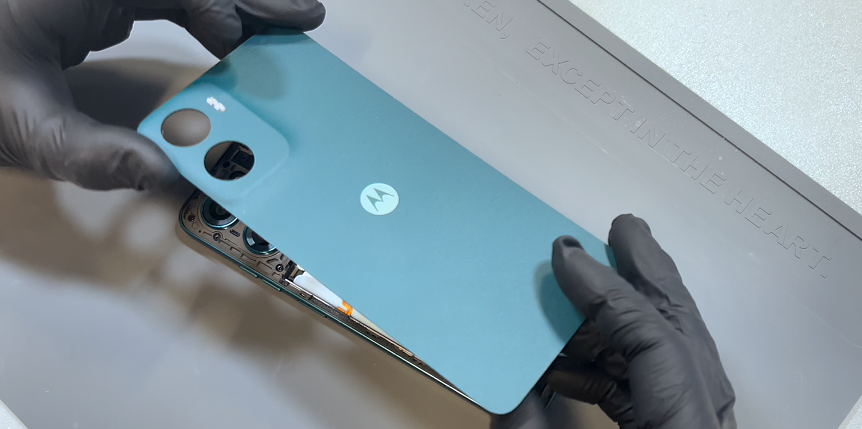
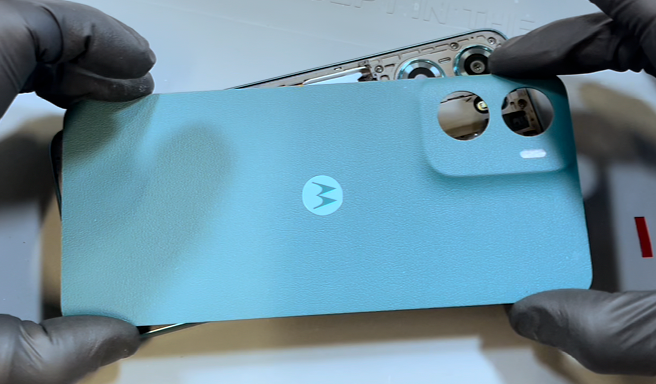
- Battery Cover Installation
Before installing the battery cover, it’s essential to thoroughly clean all old adhesive from the phone’s frame. Use a plastic probe tool (avoid metal to prevent damage) to carefully scrape away the adhesive. This can take a bit of time—light residue or surface marks are fine, but any lumps or clumps must be fully removed. Repeat this process on the battery cover. Once clean, apply gentle pressure to remove the flash diffuser, then clean off any remaining adhesive underneath.
With both surfaces clean, install the square foam adhesive and the three adhesive strips onto the phone’s chassis as shown in the video. If any adhesive remains, be sure it’s completely removed. Peel off all protective covers from the new adhesive, preparing the phone for the battery cover installation.
Next, install the main adhesive onto the battery cover. Remove it from its protective backing and loosely align it, starting from the top. If the alignment isn’t perfect on the first try, don’t worry—it can be lifted and repositioned, as demonstrated in the video. Once properly aligned, press the adhesive down firmly to bond it to the battery cover.
Now, remove the protective film from the main adhesive. You’re ready to install the battery cover—align it using the camera lenses as a guide, then press it firmly into place. Apply gentle, even pressure across all adhesive areas to ensure a strong, lasting bond.
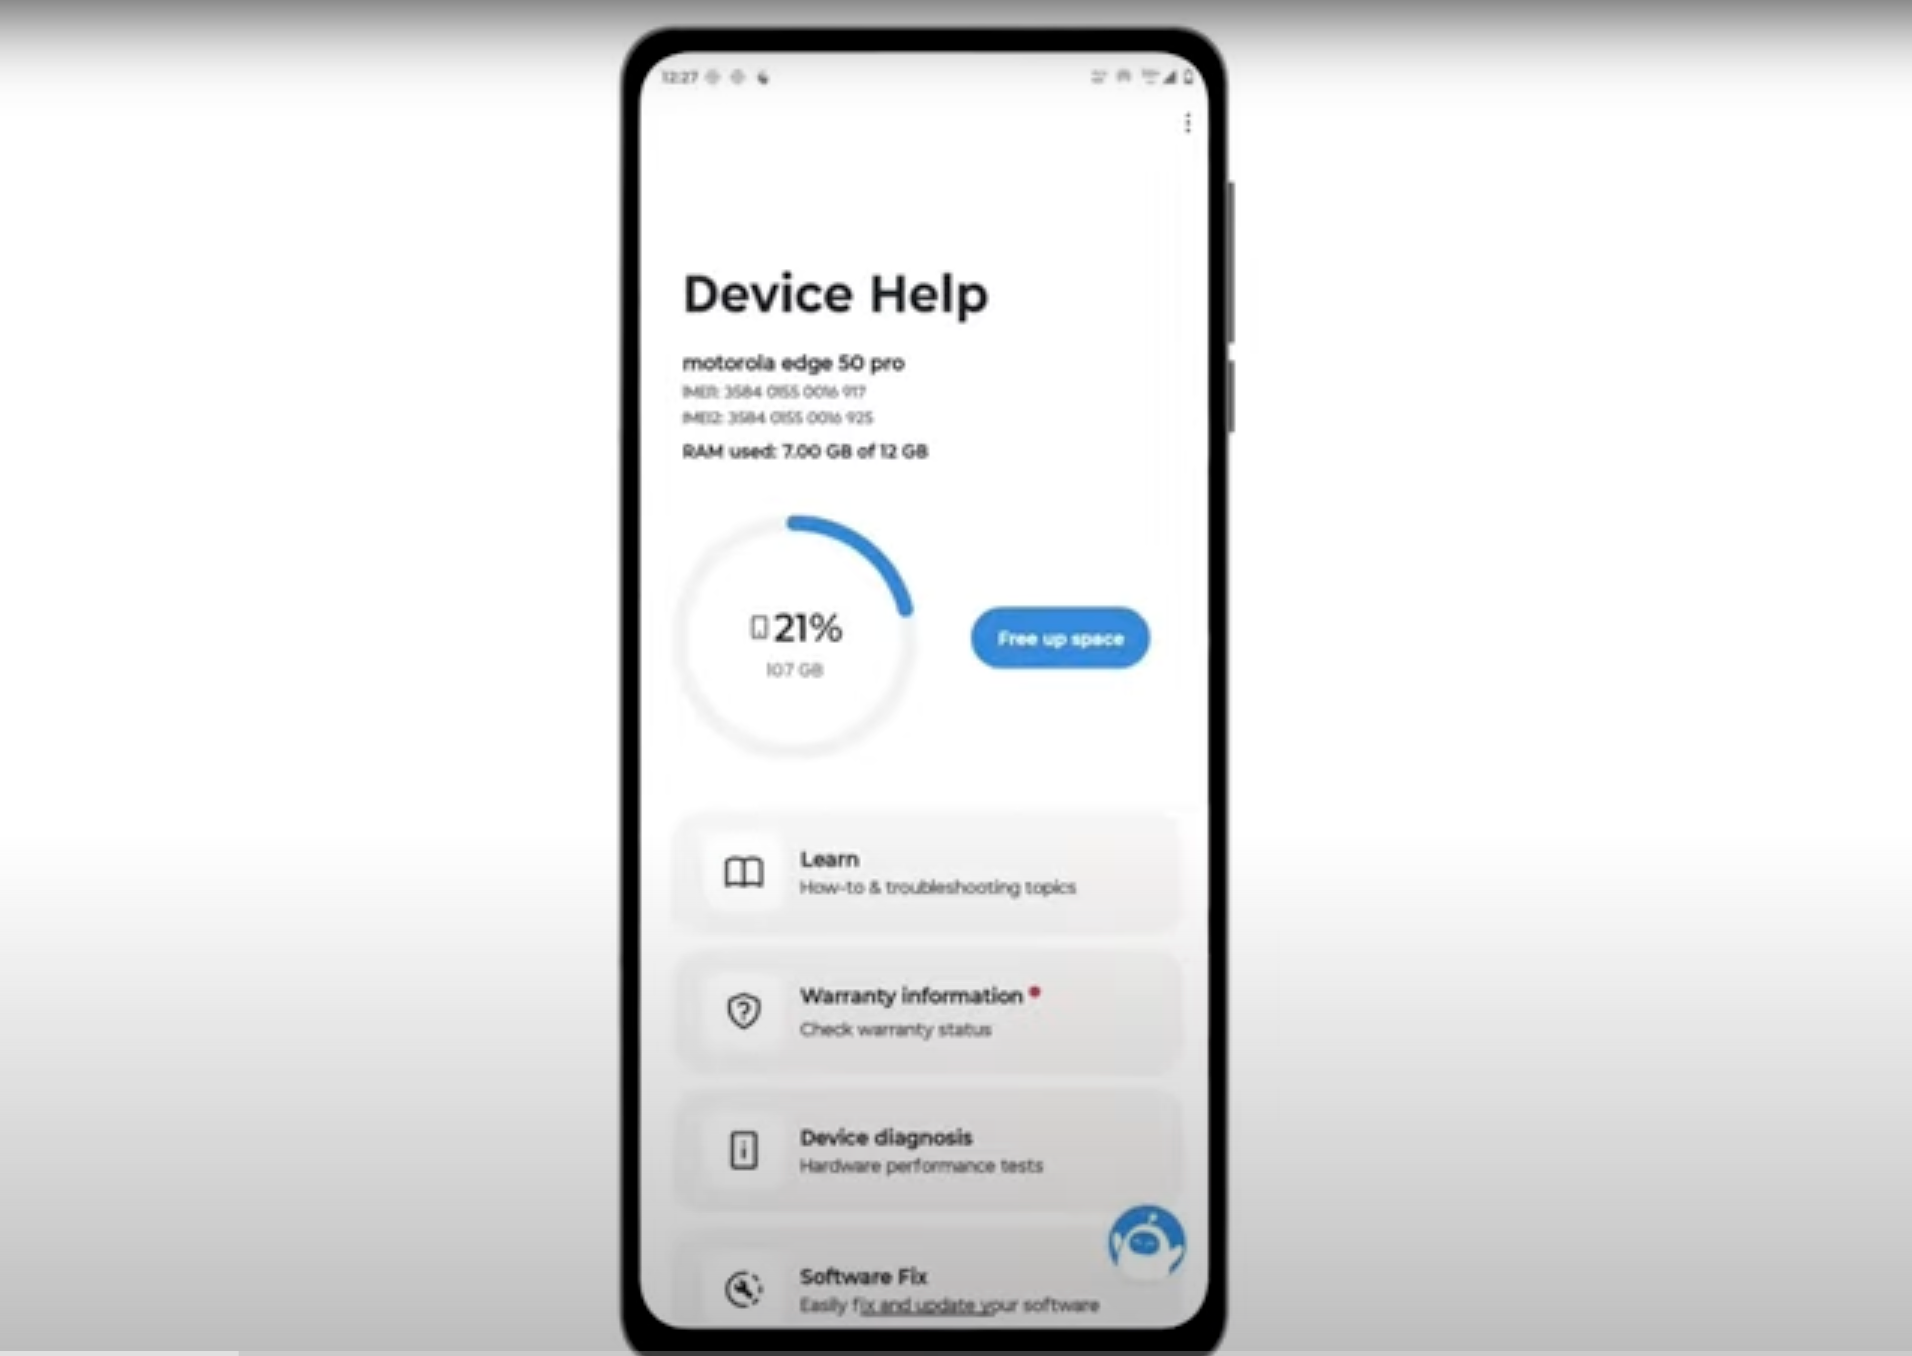
- Final Testing & Device Help App
Download and run Motorola Smart Assist to fully test your device and follow any required configuration.