Damaged the back of your phone? No worries—this quick and easy guide will have you back up and running in no time!
moto g05 repair

g05 - Battery cover replacement
15-20 MINUTES
VIDEO / PHOTO GUIDE
Parts Used
Tools & Consumables Required
Technician notes:
Nice and easy—just be sure to apply heat when opening the device; it makes the process much smoother. Before installing the new panel, take the time to remove all old adhesive for the best fit and finish.
Nice and easy—just be sure to apply heat when opening the device; it makes the process much smoother. Before installing the new panel, take the time to remove all old adhesive for the best fit and finish.
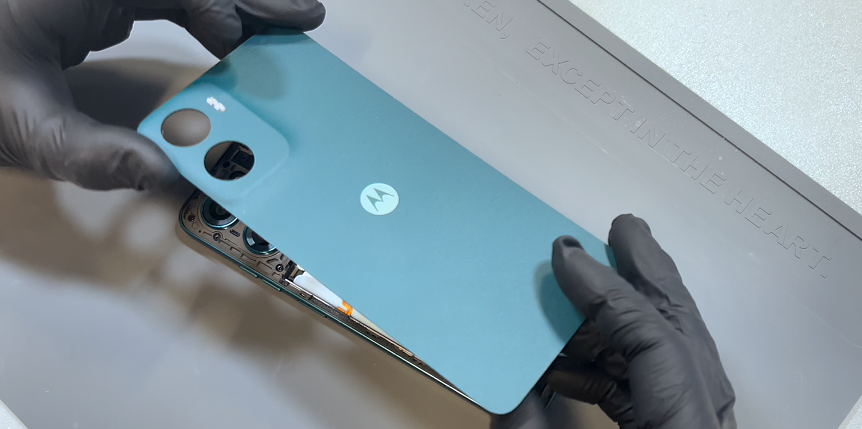
- SIM Eject & Battery Cover Removal

Use the SIM eject tool to press into the small hole next to the SIM tray—this will pop the tray out just enough for you to remove it by hand. Set the tray aside safely.
Next, warm up the battery cover, focusing on the edges. Use a heat gun on a low setting or a hairdryer on medium until the cover feels warm to the touch.
Use the blade tool to carefully create a small gap at the bottom of the phone. Once there's enough space, insert the card tool and begin working it counter-clockwise around the device. Be sure to insert the card no deeper than 1–2 cm.
Take extra care on the left-hand side near the volume buttons—there's a flex cable here that can be easily damaged if the card goes too deep. Reapply heat as needed to soften the adhesive.
Once you've worked around the entire edge and broken the seal, gently wriggle the back cover off. This will release any remaining adhesive, particularly around the camera area.
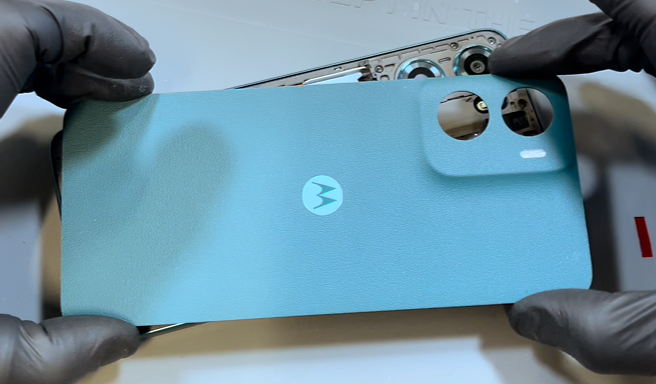
- Battery Cover installation
Before installing the battery cover, take time to properly clean the old adhesive from the phone’s frame. Use a plastic probe tool (never metal) to gently scrape away any leftover adhesive. While light residue or marks are fine, make sure all lumps or clumps are fully removed, once clean, install the foam square adhesive and remove the protective sheet.
Unpack your new battery cover and remove all protective films—the main adhesive layer and the three red adhesive strips.
Now you’re ready to install! Align the battery cover using the camera lenses as a guide, then press it firmly into place. Gently rub over all adhesive areas to ensure a secure and even bond, remove any protective films.
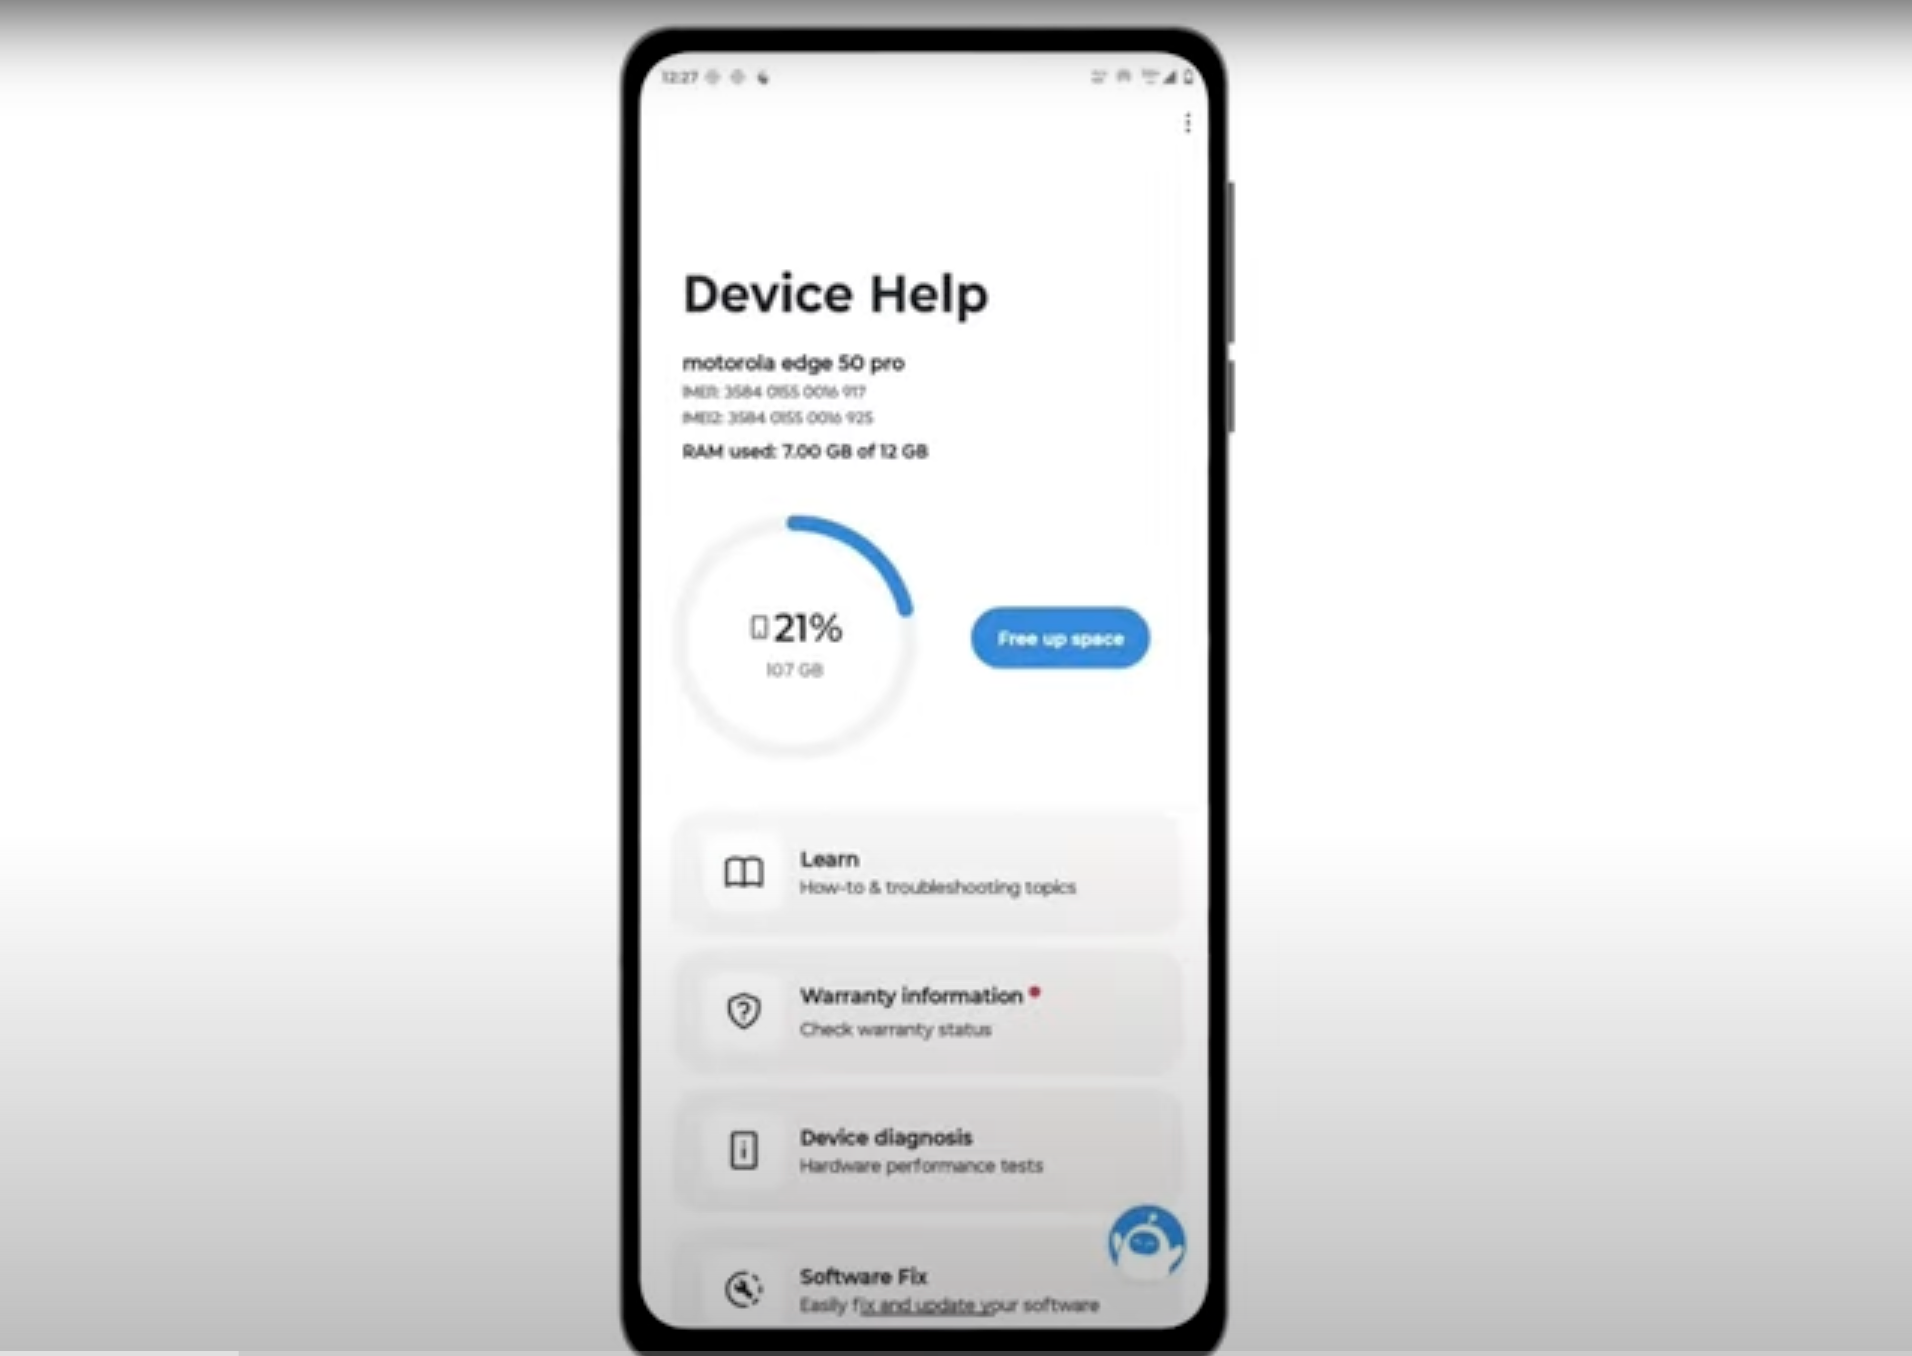
- Final Testing & Device Help App
Download and run Motorola Smart Assist to fully test your device and follow any required configuration.