Follow this step-by-step guide to safely replace the battery on your Moto Edge 50 using a genuine Motorola replacement, ensuring optimal performance and device longevity.
Motorola Edge 50 repair

Battery Cover Replacement - Edge50
20-25 MINUTES
VIDEO / PHOTO GUIDE
Parts Used
moto g55 5G | Mid Frame Chassis Asssembly | Twilight Purple (Rose Sorbet) | 5S58C28446

RBSKU23127 5S58C28446
£9.96
moto g55 5G | Front Facing Camera Module | SC28D40654
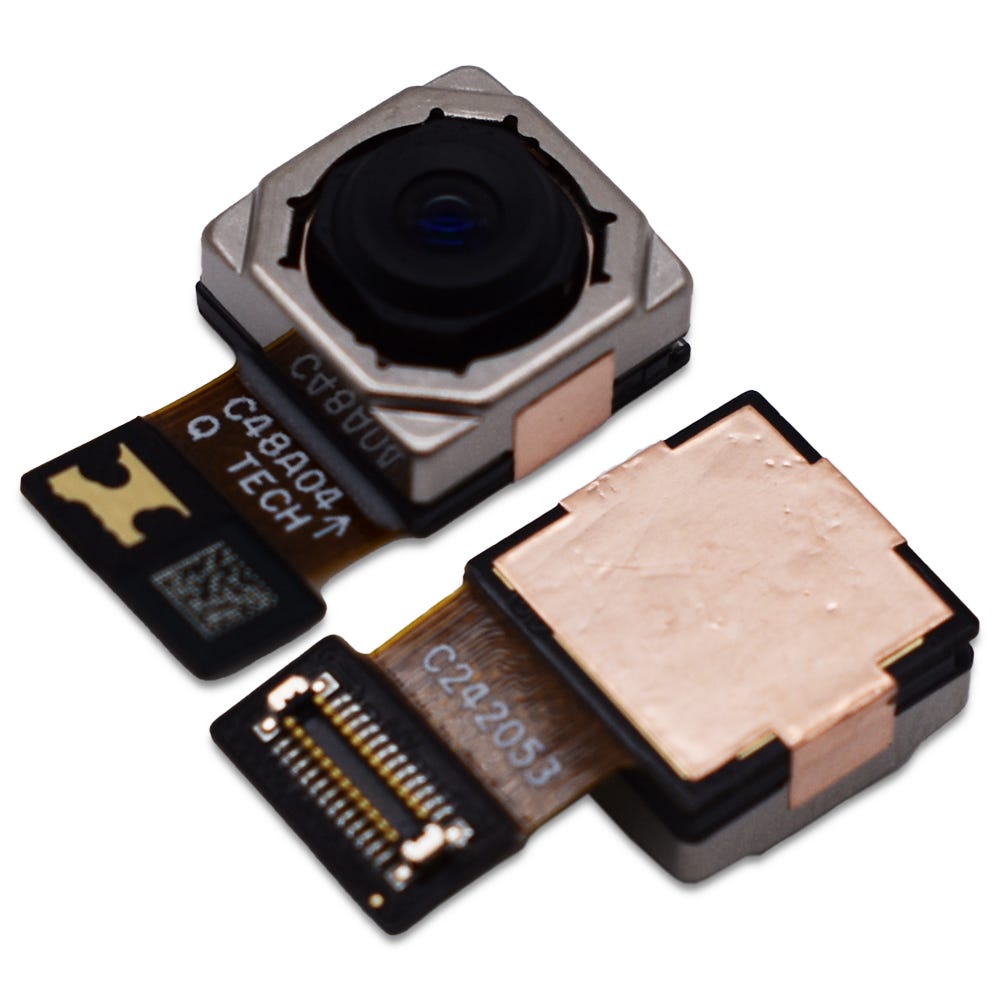
RBSKU23128 SC28D55366
£8.29
Tools & Consumables Required
moto g55 5G | Mid Frame Chassis Asssembly | Forest Grey (Desert Sage) | 5S58C28444

RBSKU23125 5S58C28444
£9.96
moto g55 5G | Mid Frame Chassis Asssembly | Smoky Green (Darkest Spruce) | 5S58C28745
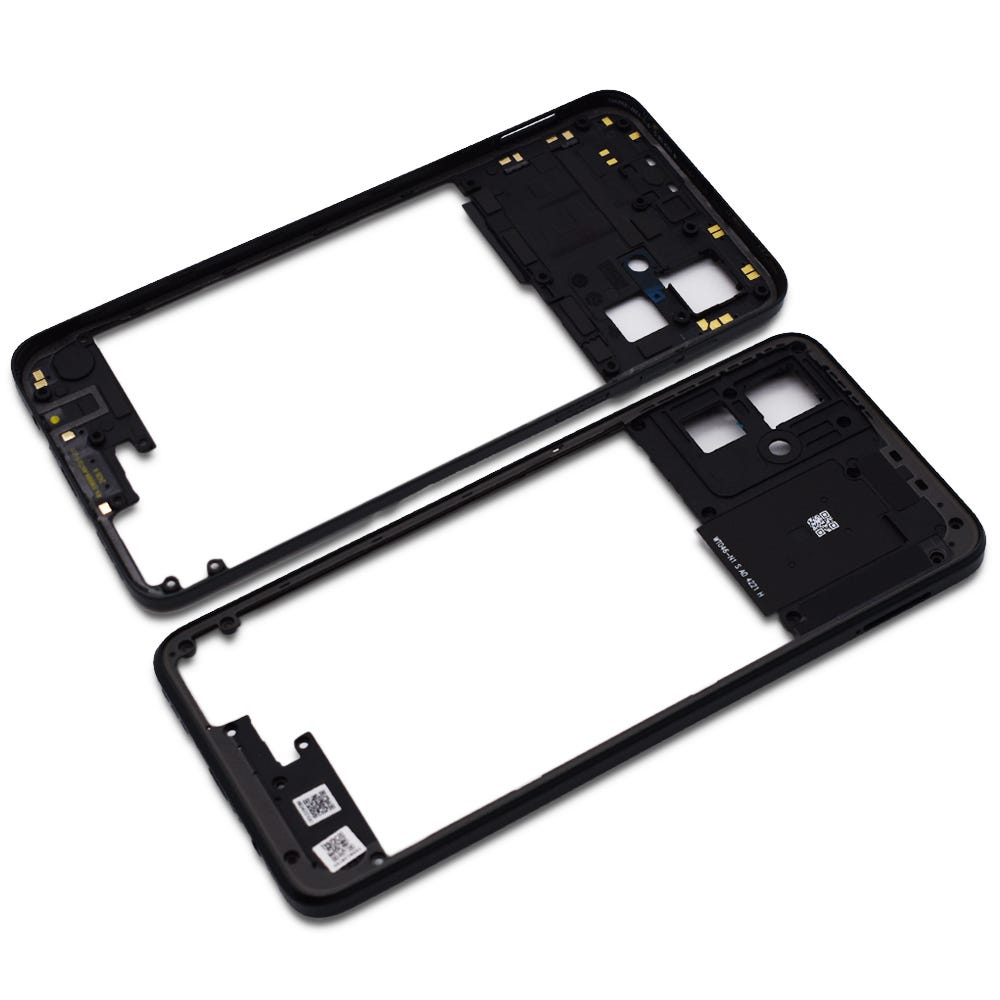
RBSKU23126 5S58C28445
£9.96
Technician notes:
Rome wasn’t built in a day! This isn’t a fast repair—be slow, firm, and gentle when removing the battery cover and breaking the adhesive seal. Avoid inserting the tool too deeply into the device. Likewise, take your time aligning the new adhesive correctly for the battery cover replacement.
Rome wasn’t built in a day! This isn’t a fast repair—be slow, firm, and gentle when removing the battery cover and breaking the adhesive seal. Avoid inserting the tool too deeply into the device. Likewise, take your time aligning the new adhesive correctly for the battery cover replacement.
- SIM Tray Removal
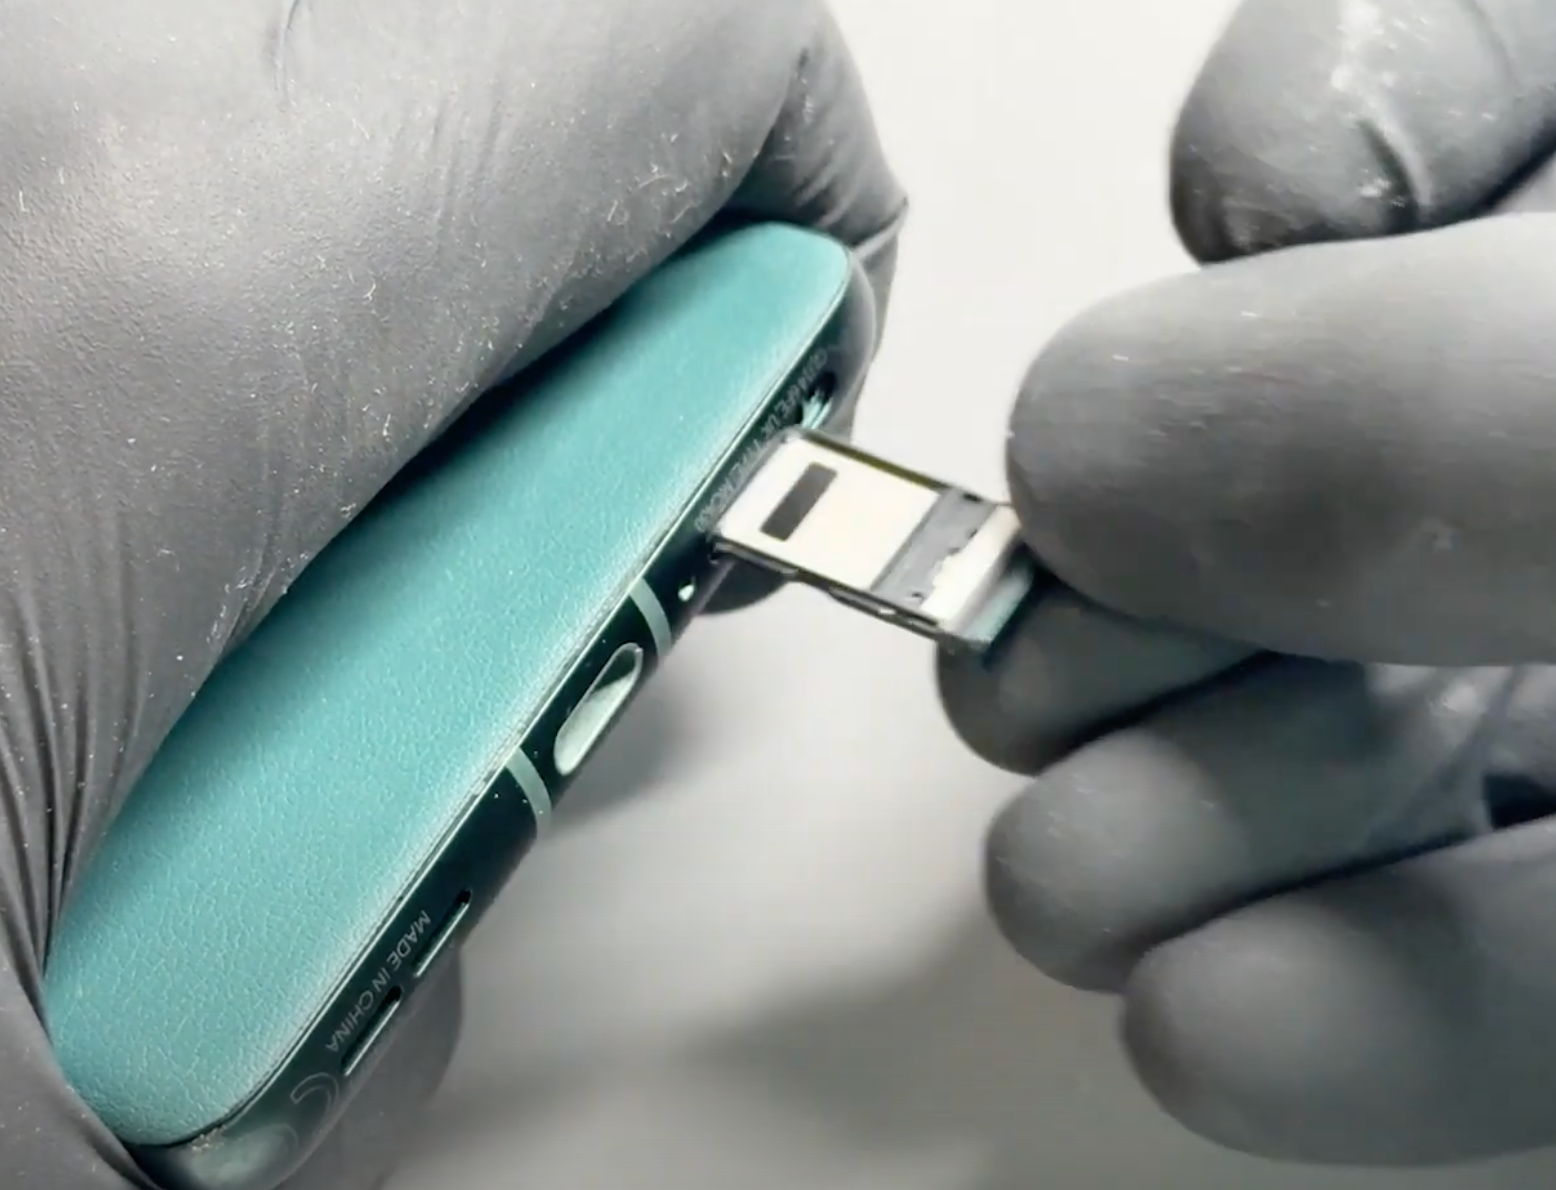

Prepare your work area - once ready, remove your SIM card tray using the SIM Eject Tool.
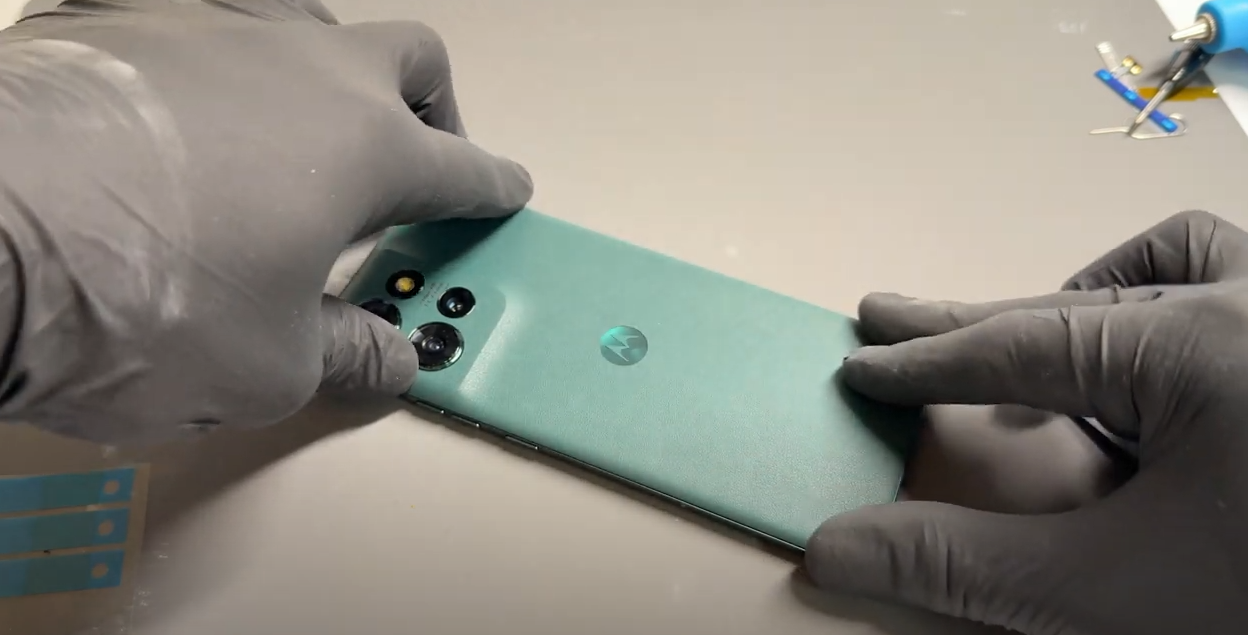
- Battery Cover Removal
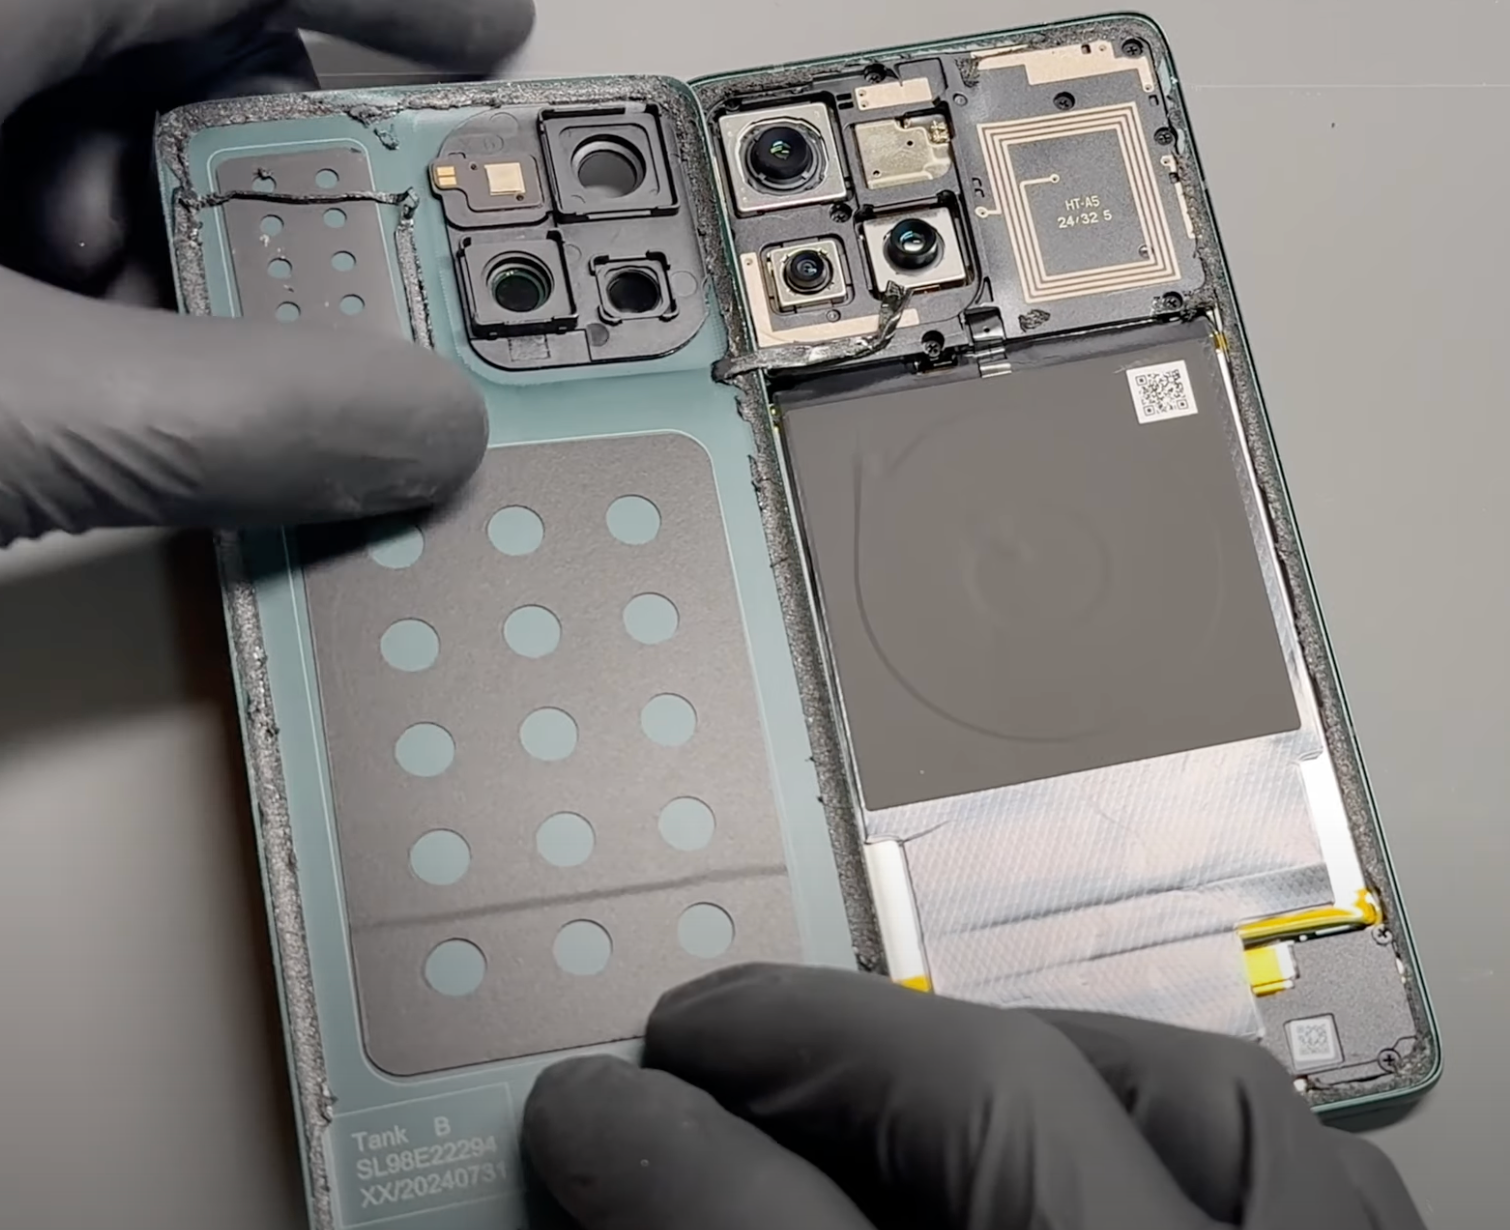
Gently heat the phone’s back cover using a hairdryer on medium or a heat gun on low until it feels warm to the touch. This helps soften the adhesive for easier removal.
Using a metal pry tool or a handled blade, carefully create a small gap between the back cover and the frame. Once a gap is established, insert a plastic card, playing card, or a thick piece of paper. Slowly slide it around the edges to loosen the adhesive seal, taking care not to damage internal components.
Reapply heat as needed to further soften the adhesive. Once the seal is fully loosened, carefully lift the back cover, using the card tool to separate any remaining adhesive. Take your time and proceed gently.
Once separated, carefully remove all old adhesive from both the phone’s frame and the back cover (unless it's being replaced). This step can be time-consuming, so patience is key.
If available, apply a small amount of isopropyl alcohol (IPA) or acetone (such as nail polish remover) to a cotton swab and gently dab it onto the adhesive to help break it down. This will make removal easier and ensure a clean surface for reapplication.
Alternatively, use a plastic or nylon tool to gently scrape off the adhesive without damaging the phone’s frame or components. Be thorough in this step to ensure a secure fit when reattaching the cover.
- New Battery Cover Installation
Unpack the new battery cover and carefully remove any protective film from the internal lens.
Inspect the phone's frame and remove any loose adhesive using tweezers or by gently rubbing it away with your finger to ensure a clean surface.
Align the new adhesive precisely with the edges of the replacement battery cover, then press it firmly into place.
Use your finger to apply even pressure around the adhesive to ensure it bonds securely to the new cover.
Insert the camera flash diffuser plastic and position the camera flash securely, no additional adhesive should be necessary.
Carefully remove the protective film covering the top layer of the adhesive, then align and install it onto the phone’s frame. Apply firm, steady, and gentle pressure around the edges of the phone to ensure a secure fit.
- Final Testing & Device Help App
Download and run Motorola Smart Assist to fully test your device and follow any required configuration.